
Tagged: migration, vtb forum, vtbcommunity, vtbdex
-
AuthorPosts
-
January 11, 2022 at 23:08 #1397
 WebMasterKeymaster
VTBDex Migration Using Ethereum
In this forum topic, we will cover the steps to conduct a successful migration of the digital assets of previous users of our community. This topic is presented as a handbook with step-by-step advice, including screenshots of each part of the process for community members to follow.
Additionally, a downloadable PDF version of this guide is available in English and in French.
Let us begin with the migration process!
VTBDex
The VTBDex, or the VTB Decentralized Exchange, is a proprietary exchange that the VTBCommunity Foundation created that allows for direct peer-to-peer cryptocurrency transactions to take place online securely and without the need for an intermediary.
To use the VTBDex, you will first need to visit https://vtbdex.com on your computer browser or mobile phone browser. In this first instance, we will cover desktop browser operations and publish a guide for mobile usage further down the line.
In this case, we are using the Chrome browser, the cross-platform web browser developed by Google. Although you can also use other browsers to access the VTBDex and use the browser extensions that connect your cryptocurrency wallet to the VTBDex, such as Firefox browser, we chose to use Chrome for this guide.
Polkadot
Polkadot is a cryptocurrency network that allows you to interoperate with a wide variety of blockchains in the Polkadot network. Moreover, it includes the capability to do so with the VTBDex. Therefore, connecting Polkadot wallet extension to the VTBDex is the first step in this guide.
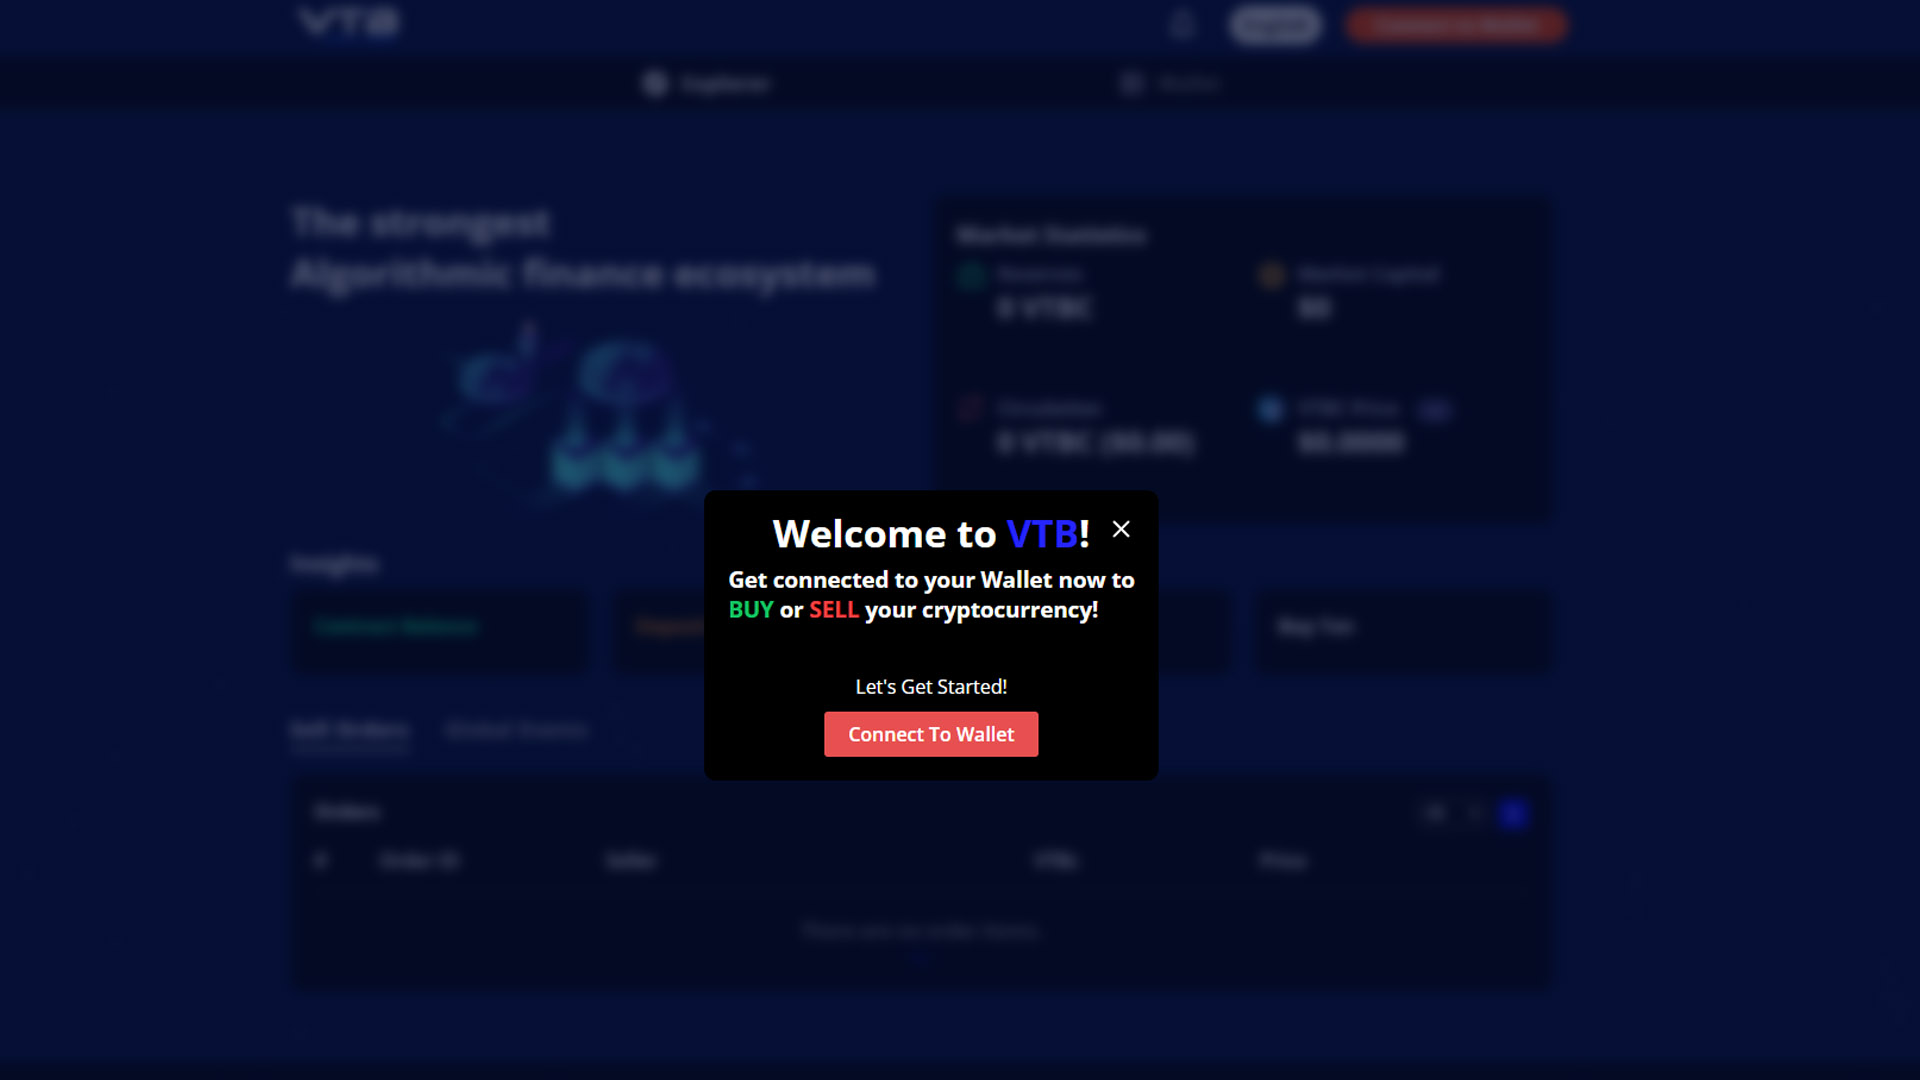
Step 1
Go to https://vtbdex.com on your browser and you will be prompted to connect your wallet to the VTBDex and click on the button that reads “Connect To Wallet” as seen below.
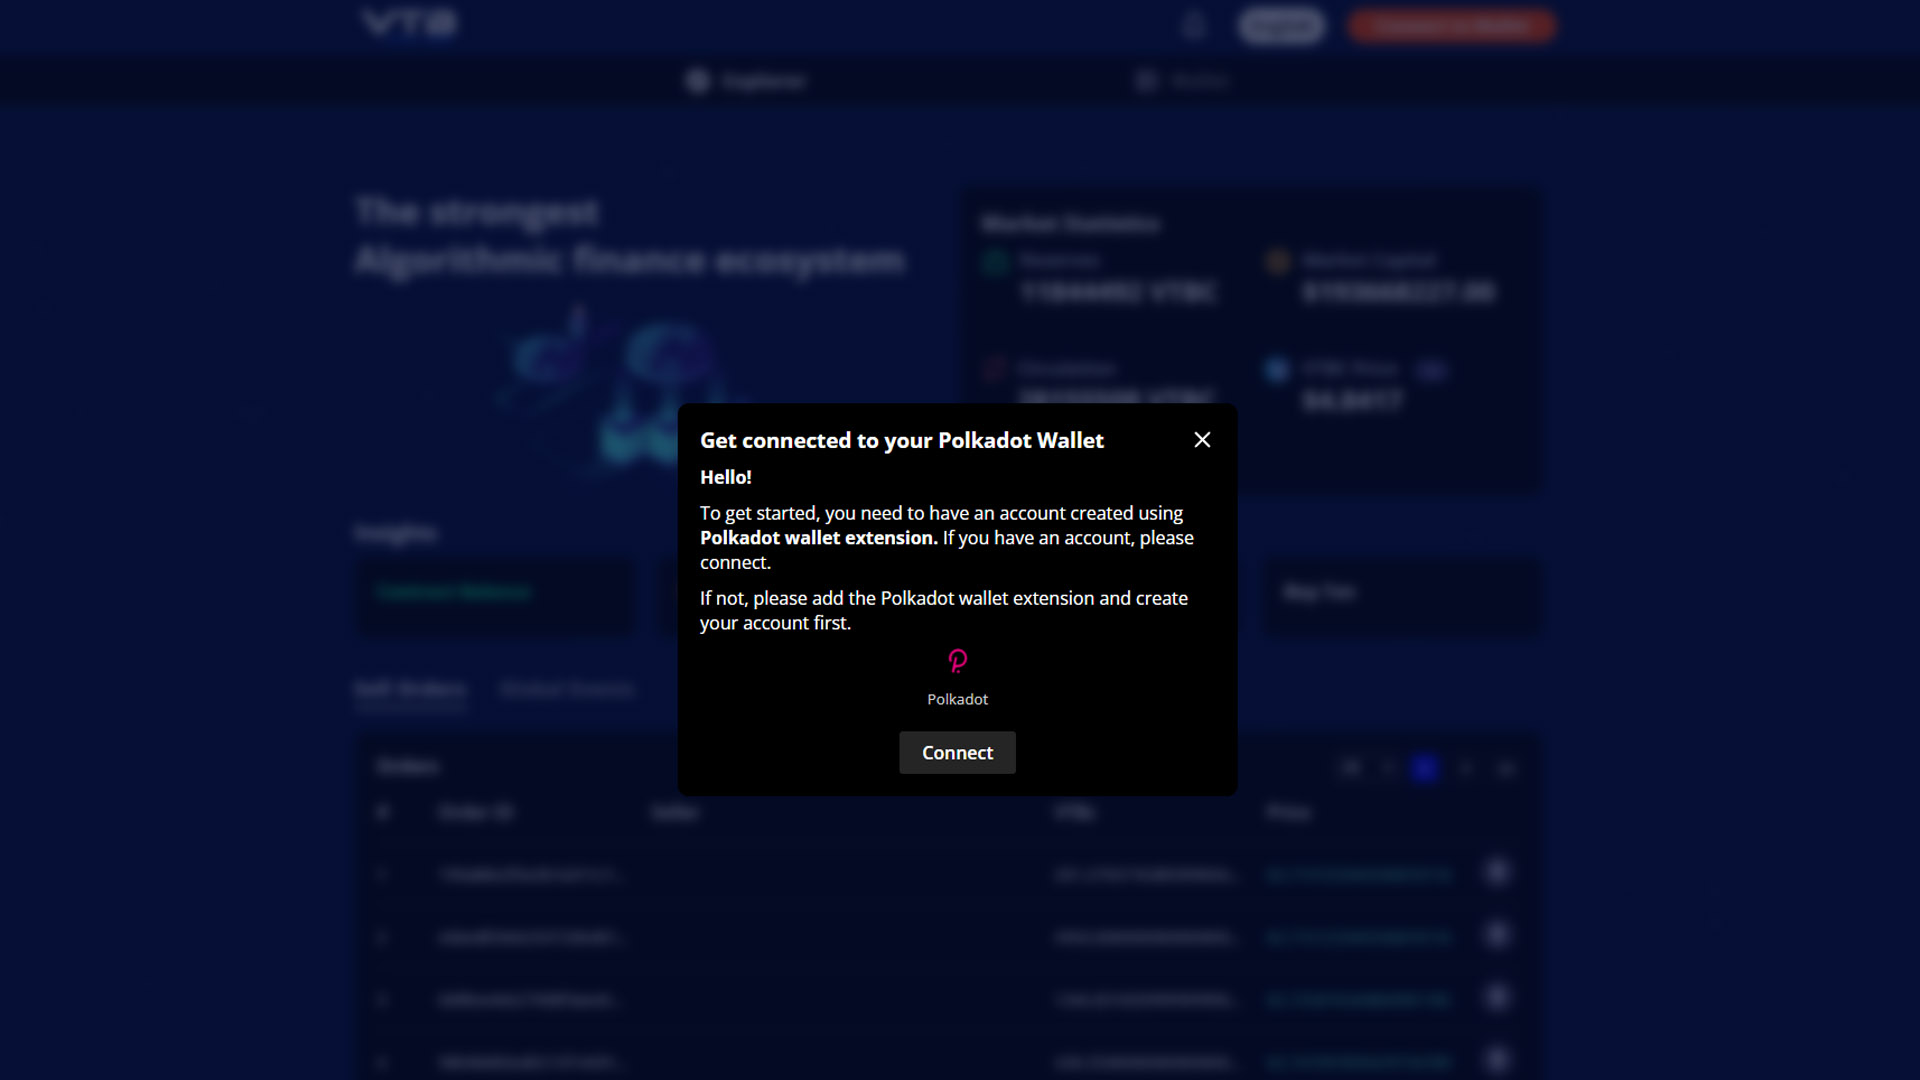
Step 2
As you click through, you will be prompted to connect your Polkadot wallet to the VTBDex. Connecting to Polkadot gives you the ability to interoperate with a wide variety of blockchains in the Polkadot network, including the capability to do so with the VTBDex. As mentioned in the screen below, you are required to have an account created using the Polkadot wallet extension. If you already have a Polkadot account, go ahead and click on “Connect”. If you don’t, you will be prompted to download and install the extension on the next step.
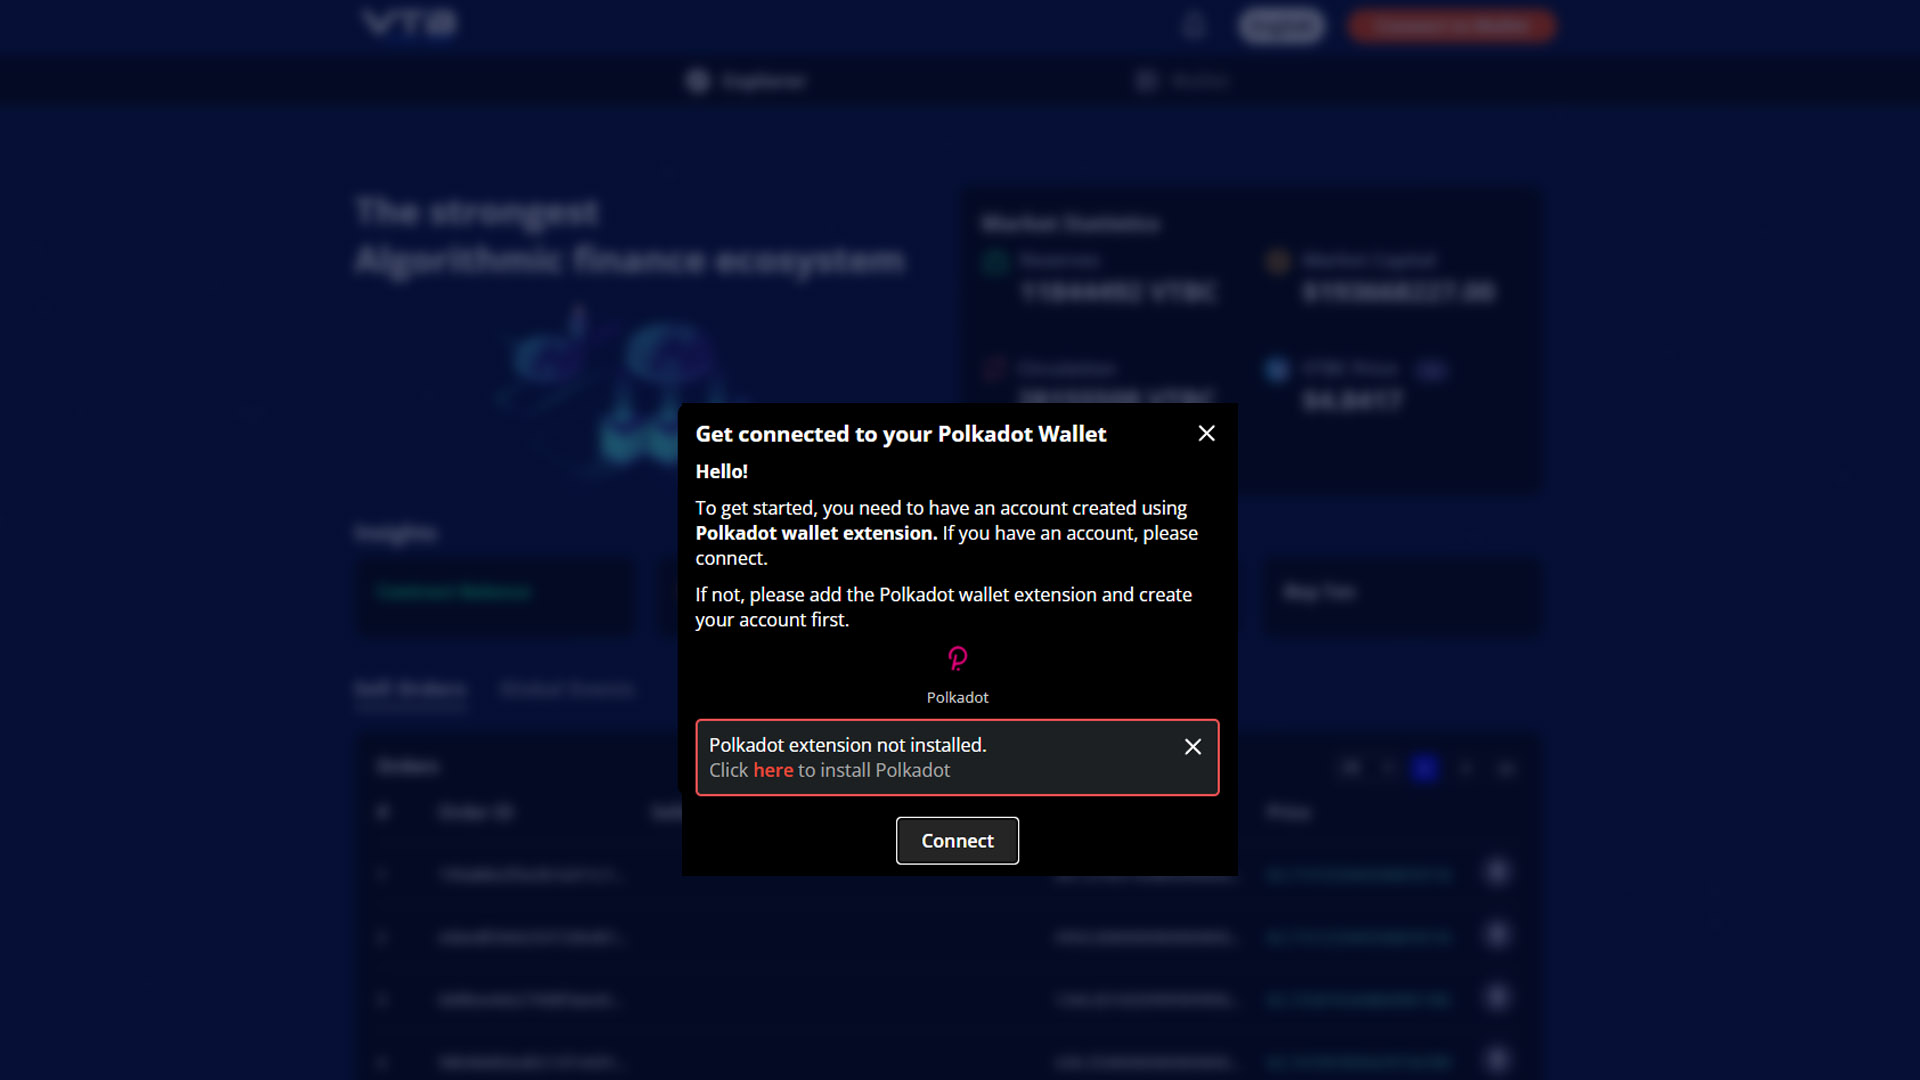
Step 3
If you don’t have the Polkadot wallet extension installed on your browser, you can click on the URL provided to do so. Please go ahead and download it from the extension marketplace using the supplied link prompted on your screen as depicted below to continue. Next, you will create your Polkadot account to connect it to the VTBDex.
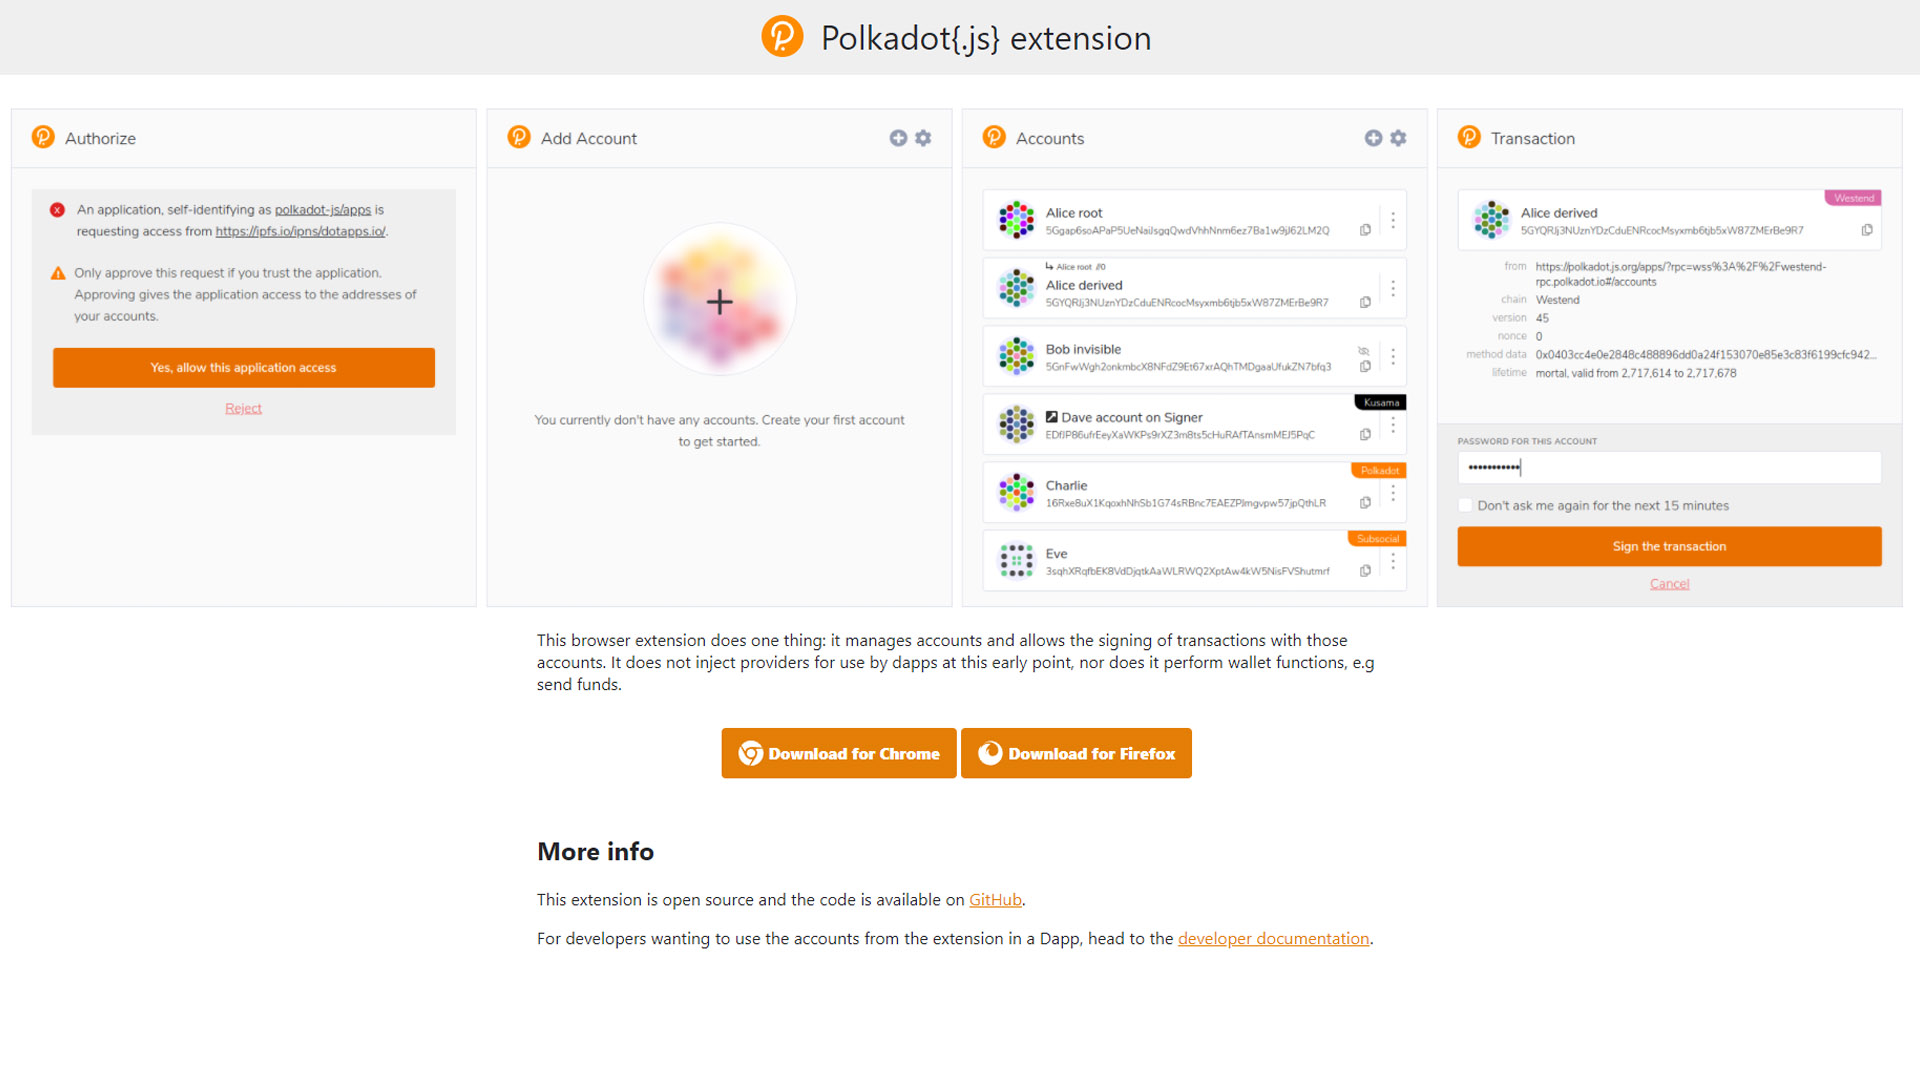
Step 4
As you click through the install process of the Polkadot wallet extension, it will take you to the website that hosts the files to be installed on your browser. Next, click on the “download” button corresponding to your browser to download and install accordingly.
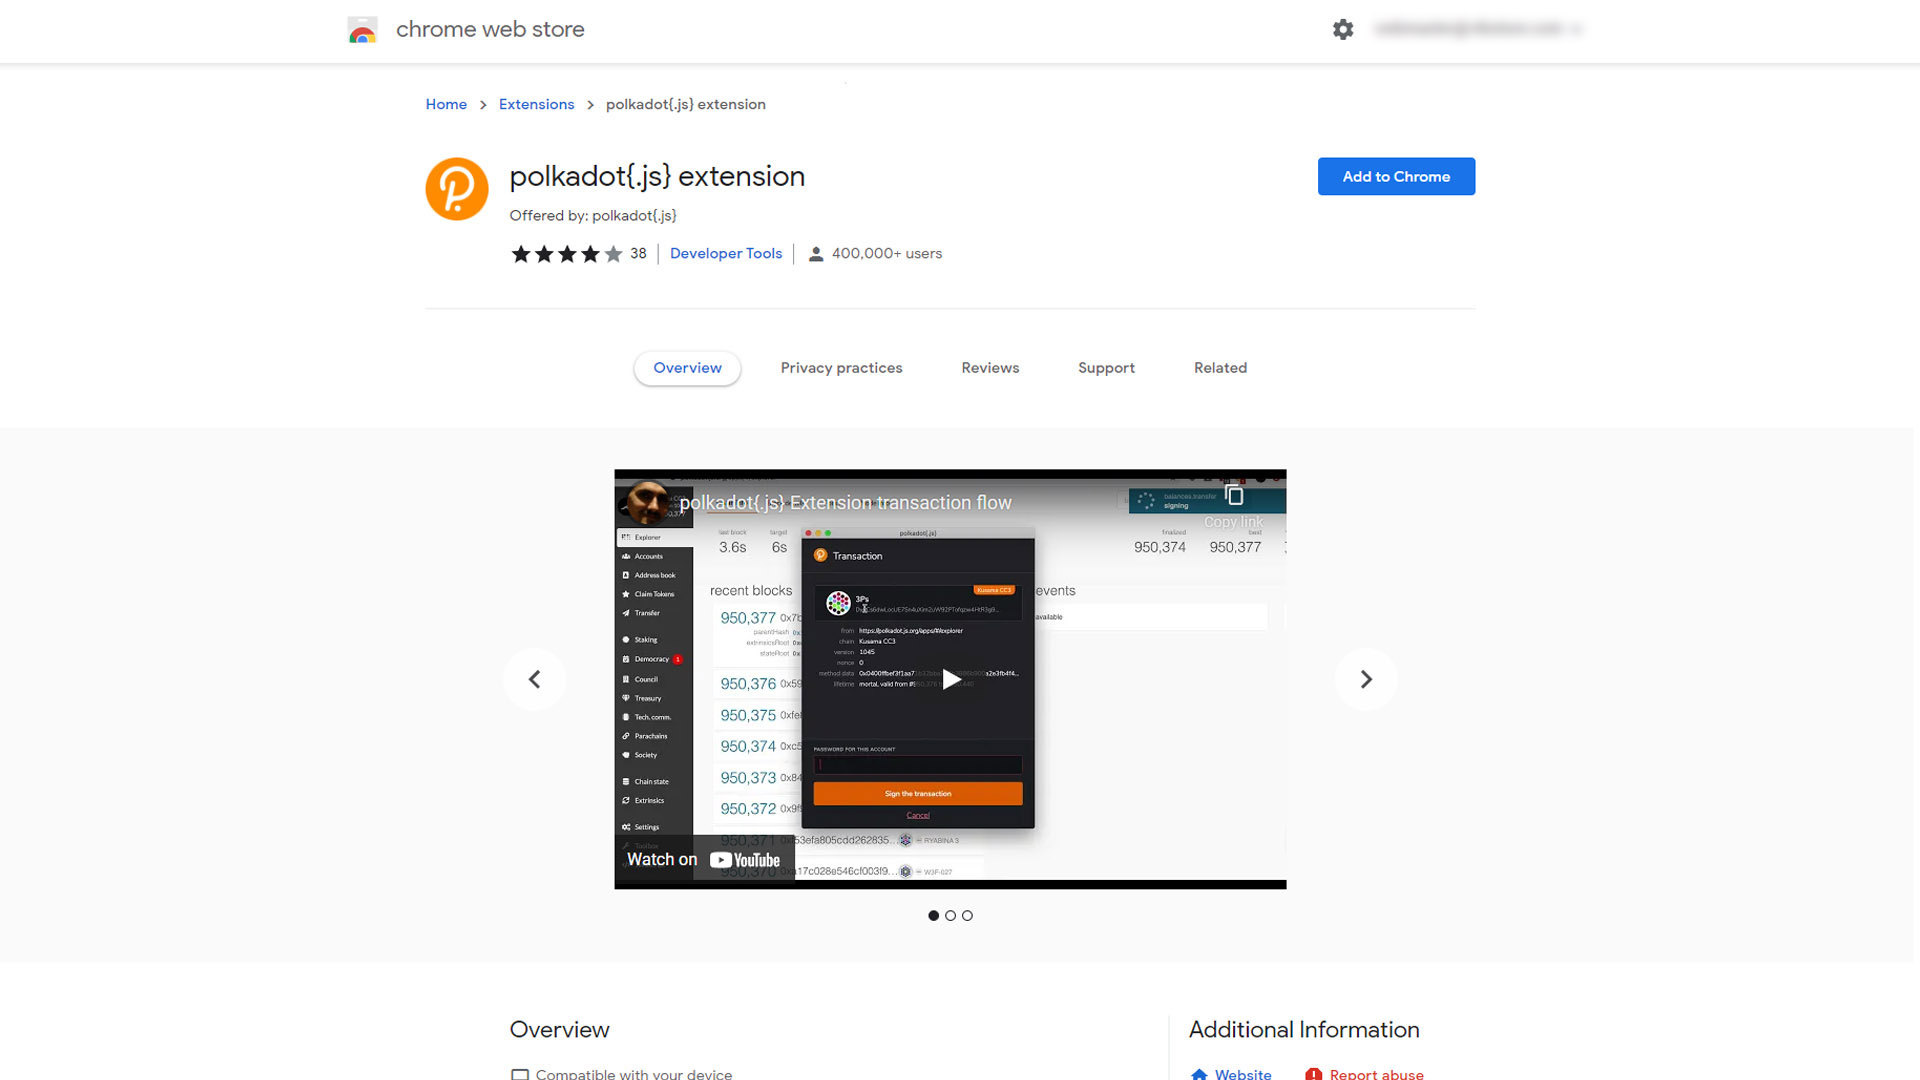
Step 5
After clicking on the download button corresponding to your browser, in this case, Chrome, you will be taken to the Chrome Web Store to add it to your browser. So please go ahead and click on “Add to Chrome” to install the extension like the image below.
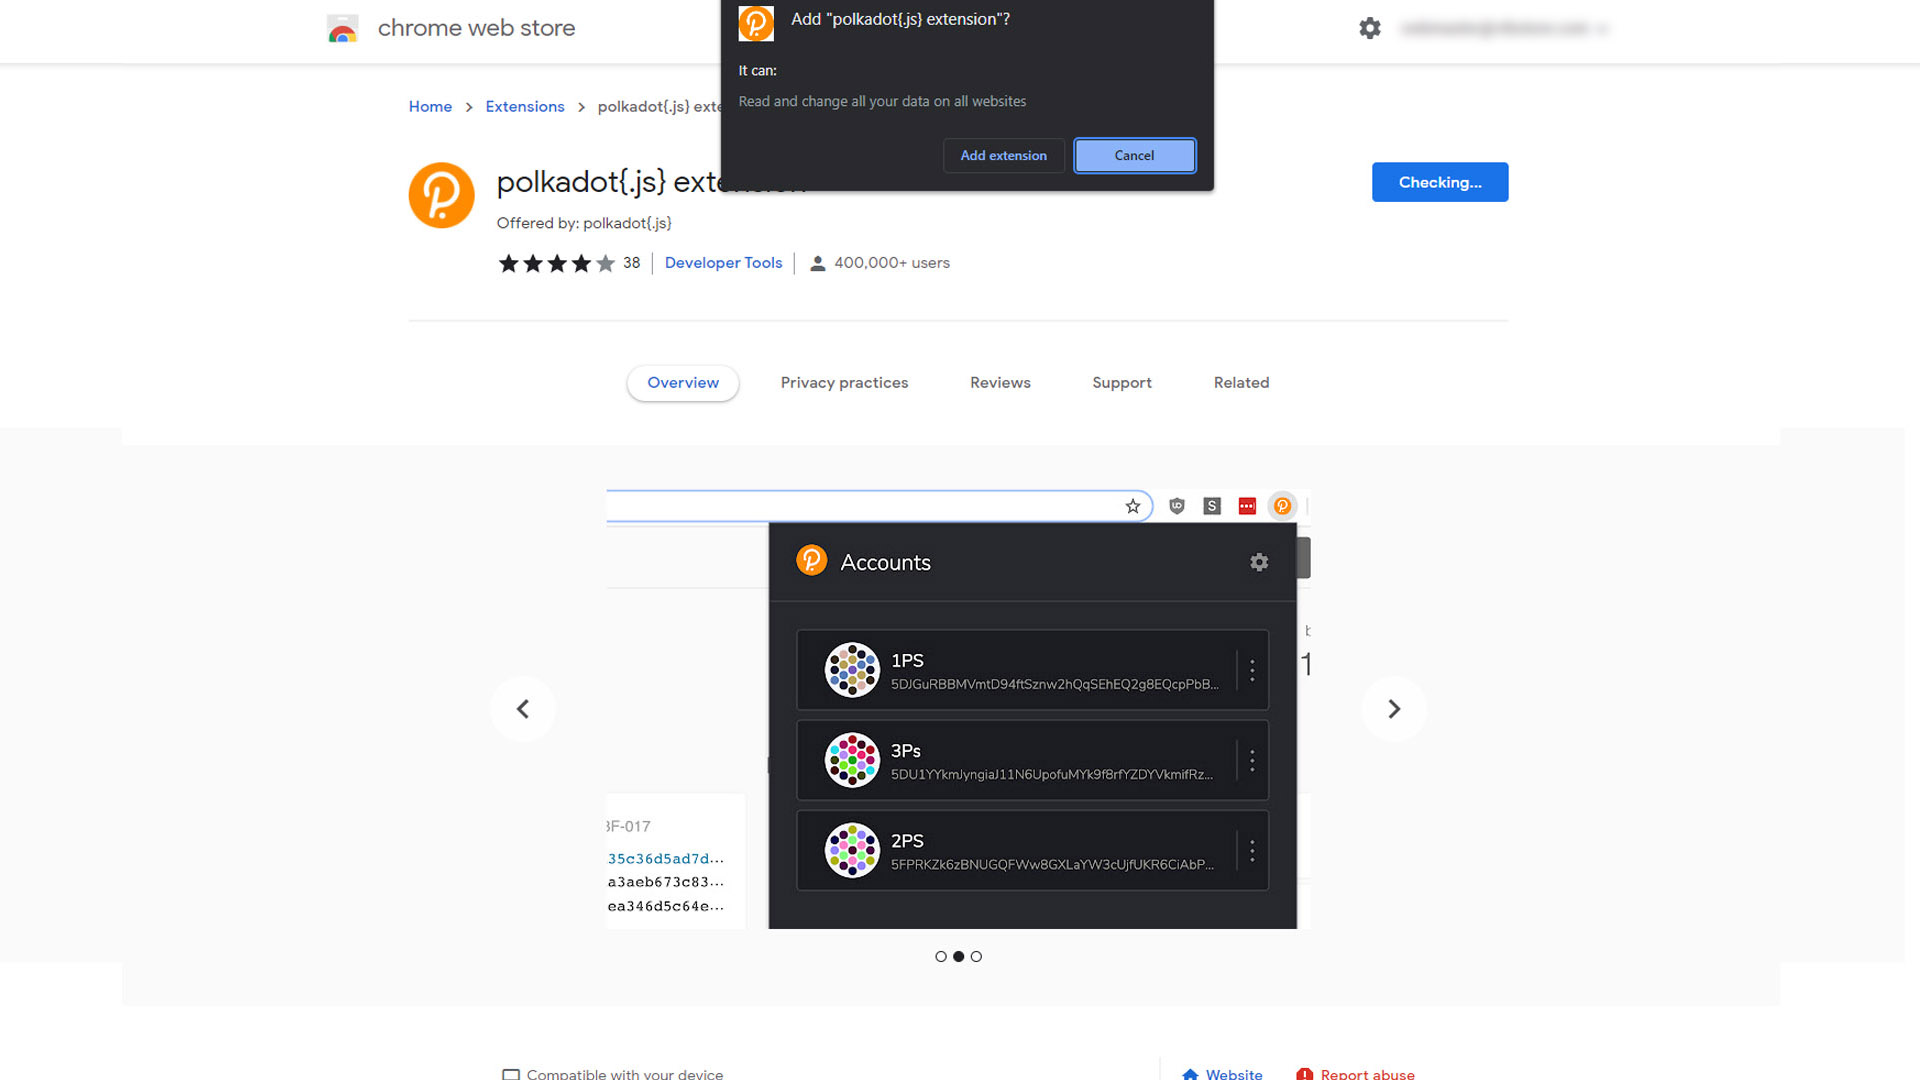
Step 6
You will then be prompted to add the extension. You would have to click on “Add extension” to complete the installation, as depicted below.
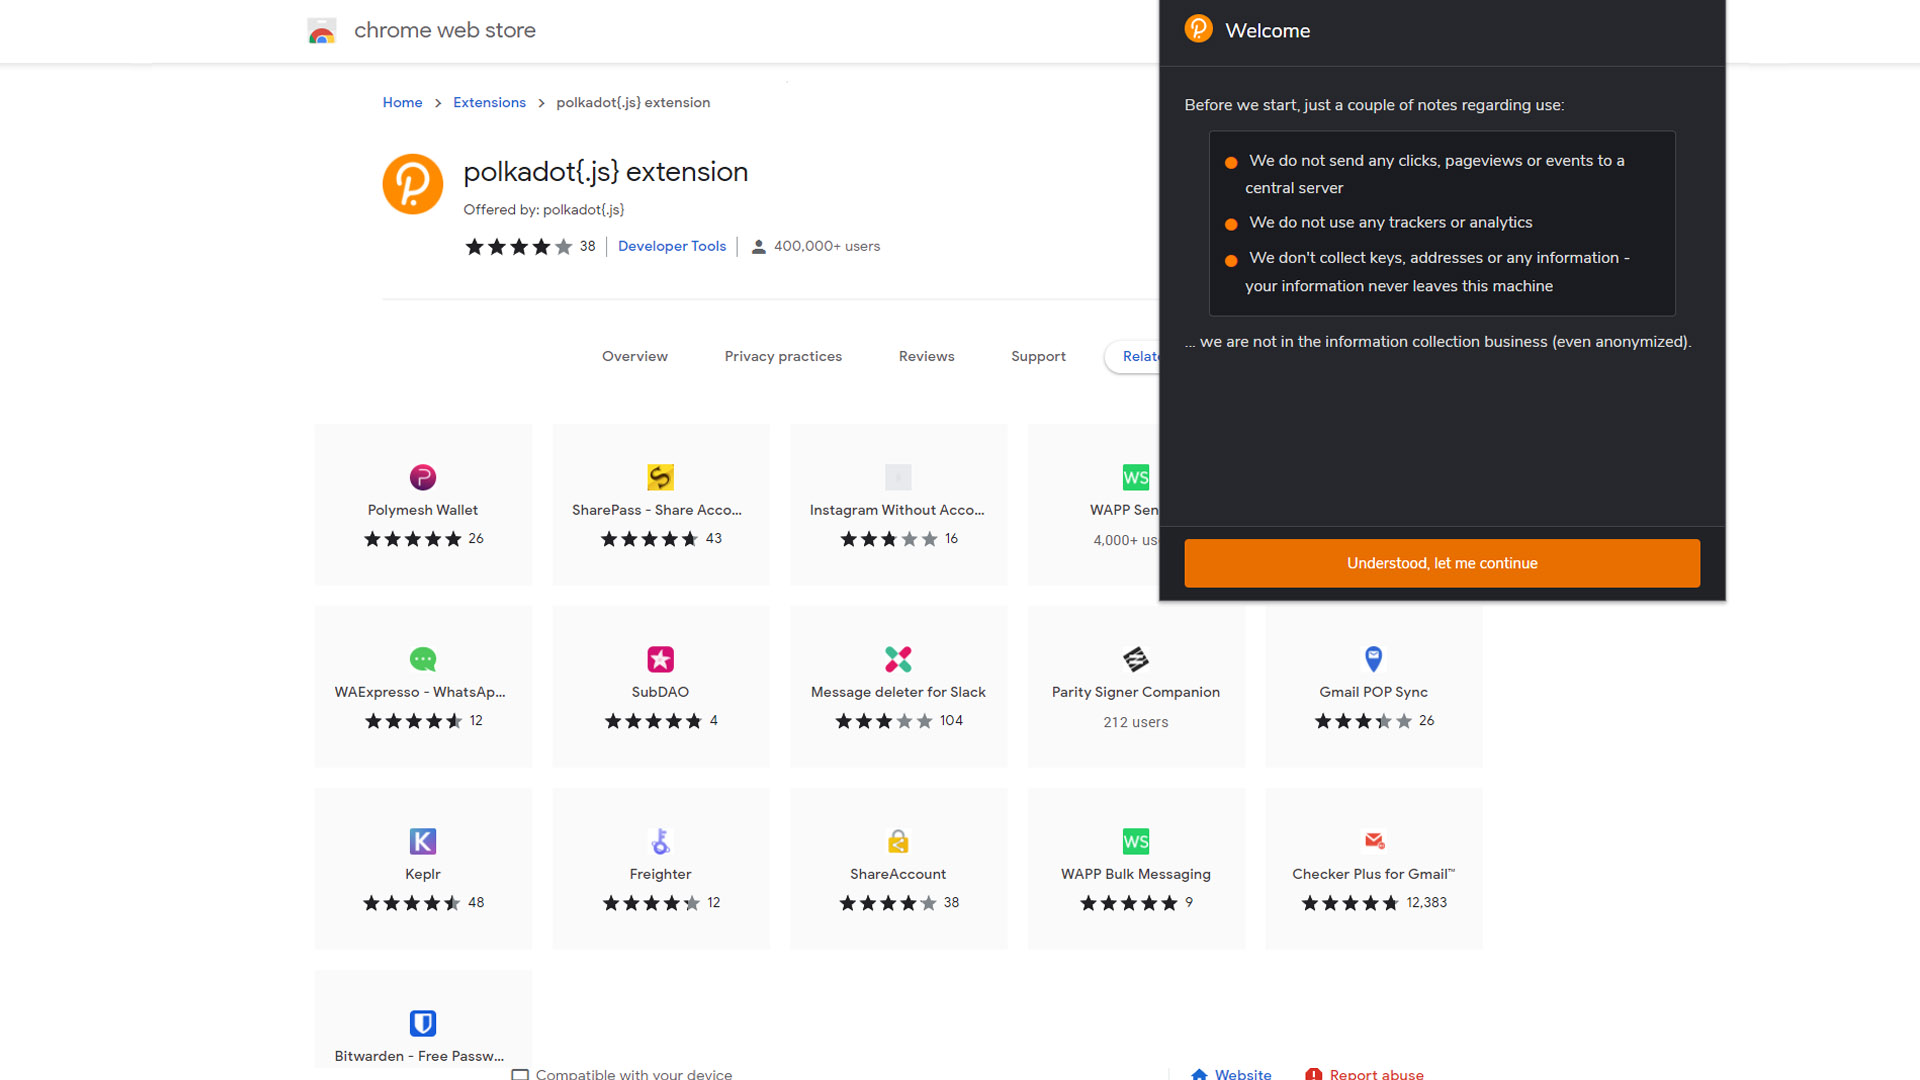
Step 7
After successfully installing the Polkadot wallet extension, you will be prompted to agree to their notices regarding the use of the extension. You should then click on “Understood, let me continue” to move to the next step, as depicted below.
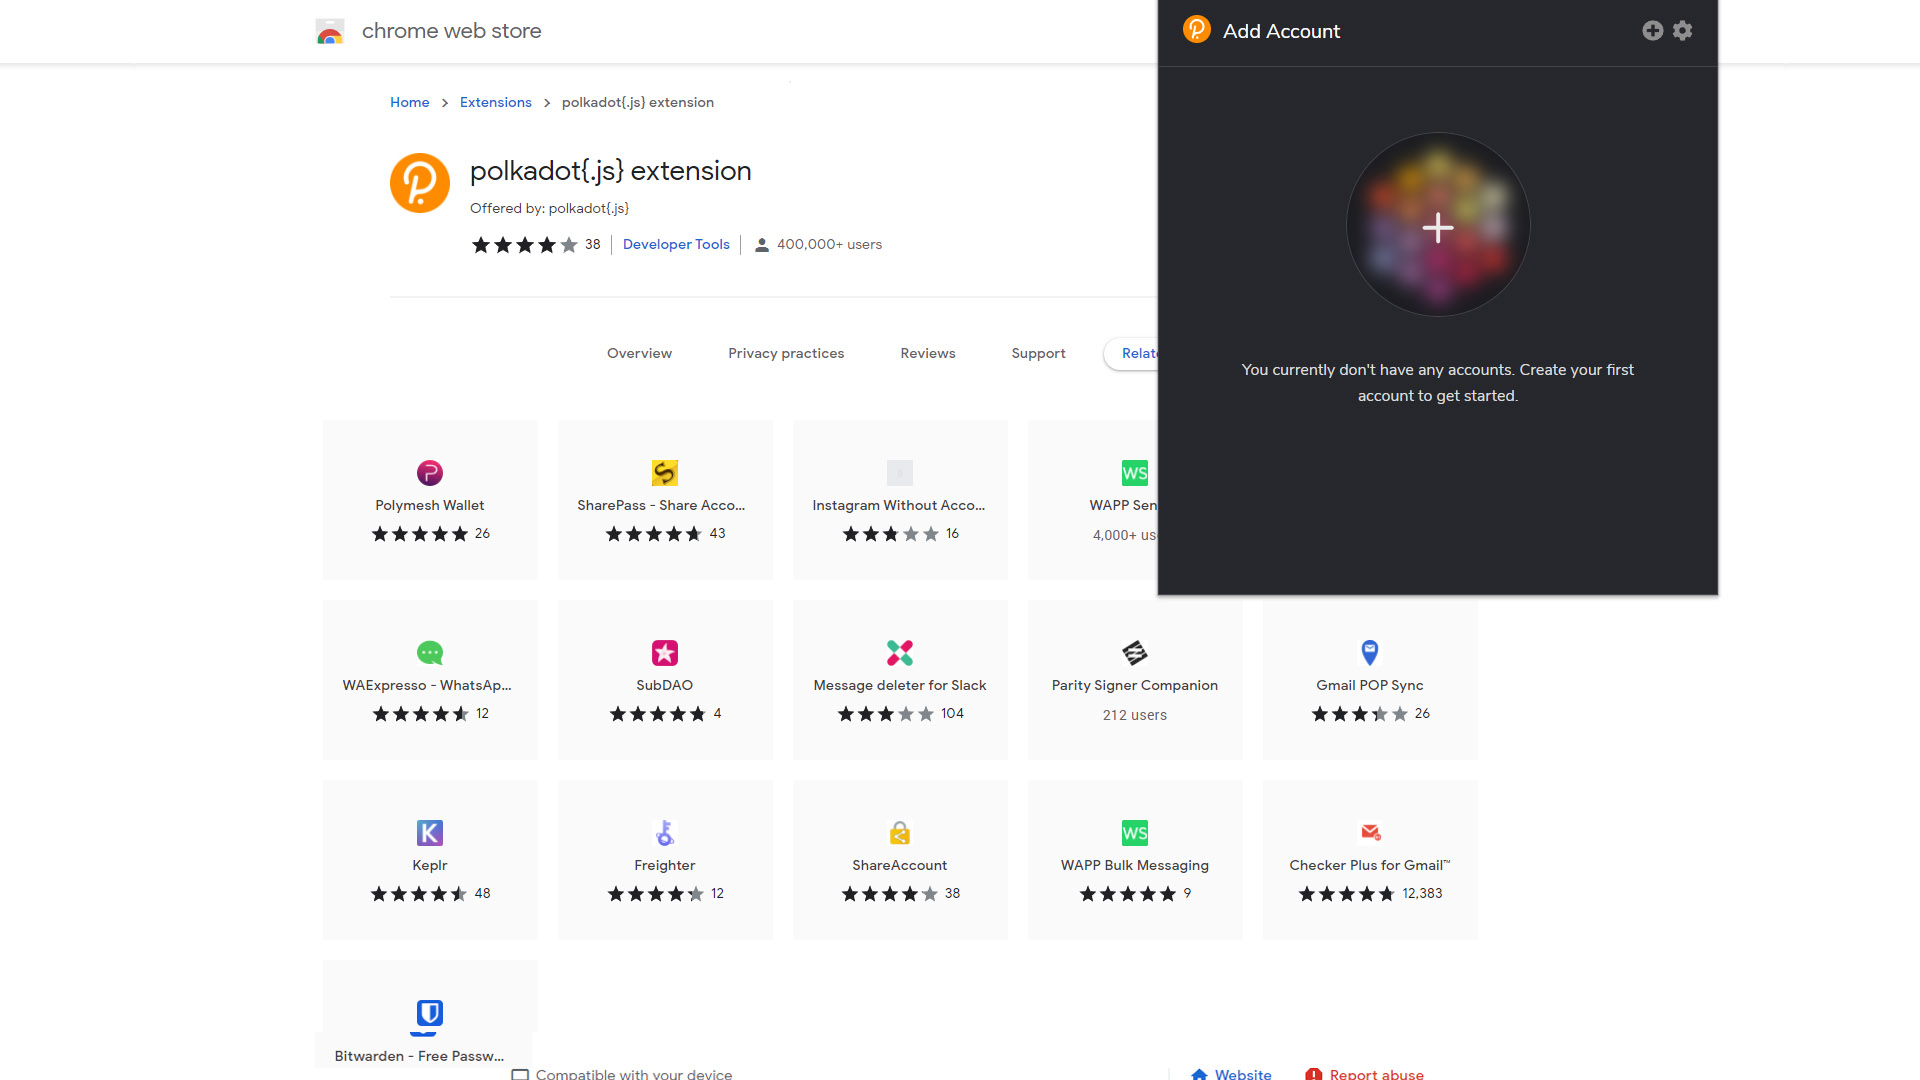
Step 8
Right after completing the installation and acceptance of notices, you will have to create an account to get started. Click on the “+” sign to add your account as shown below.
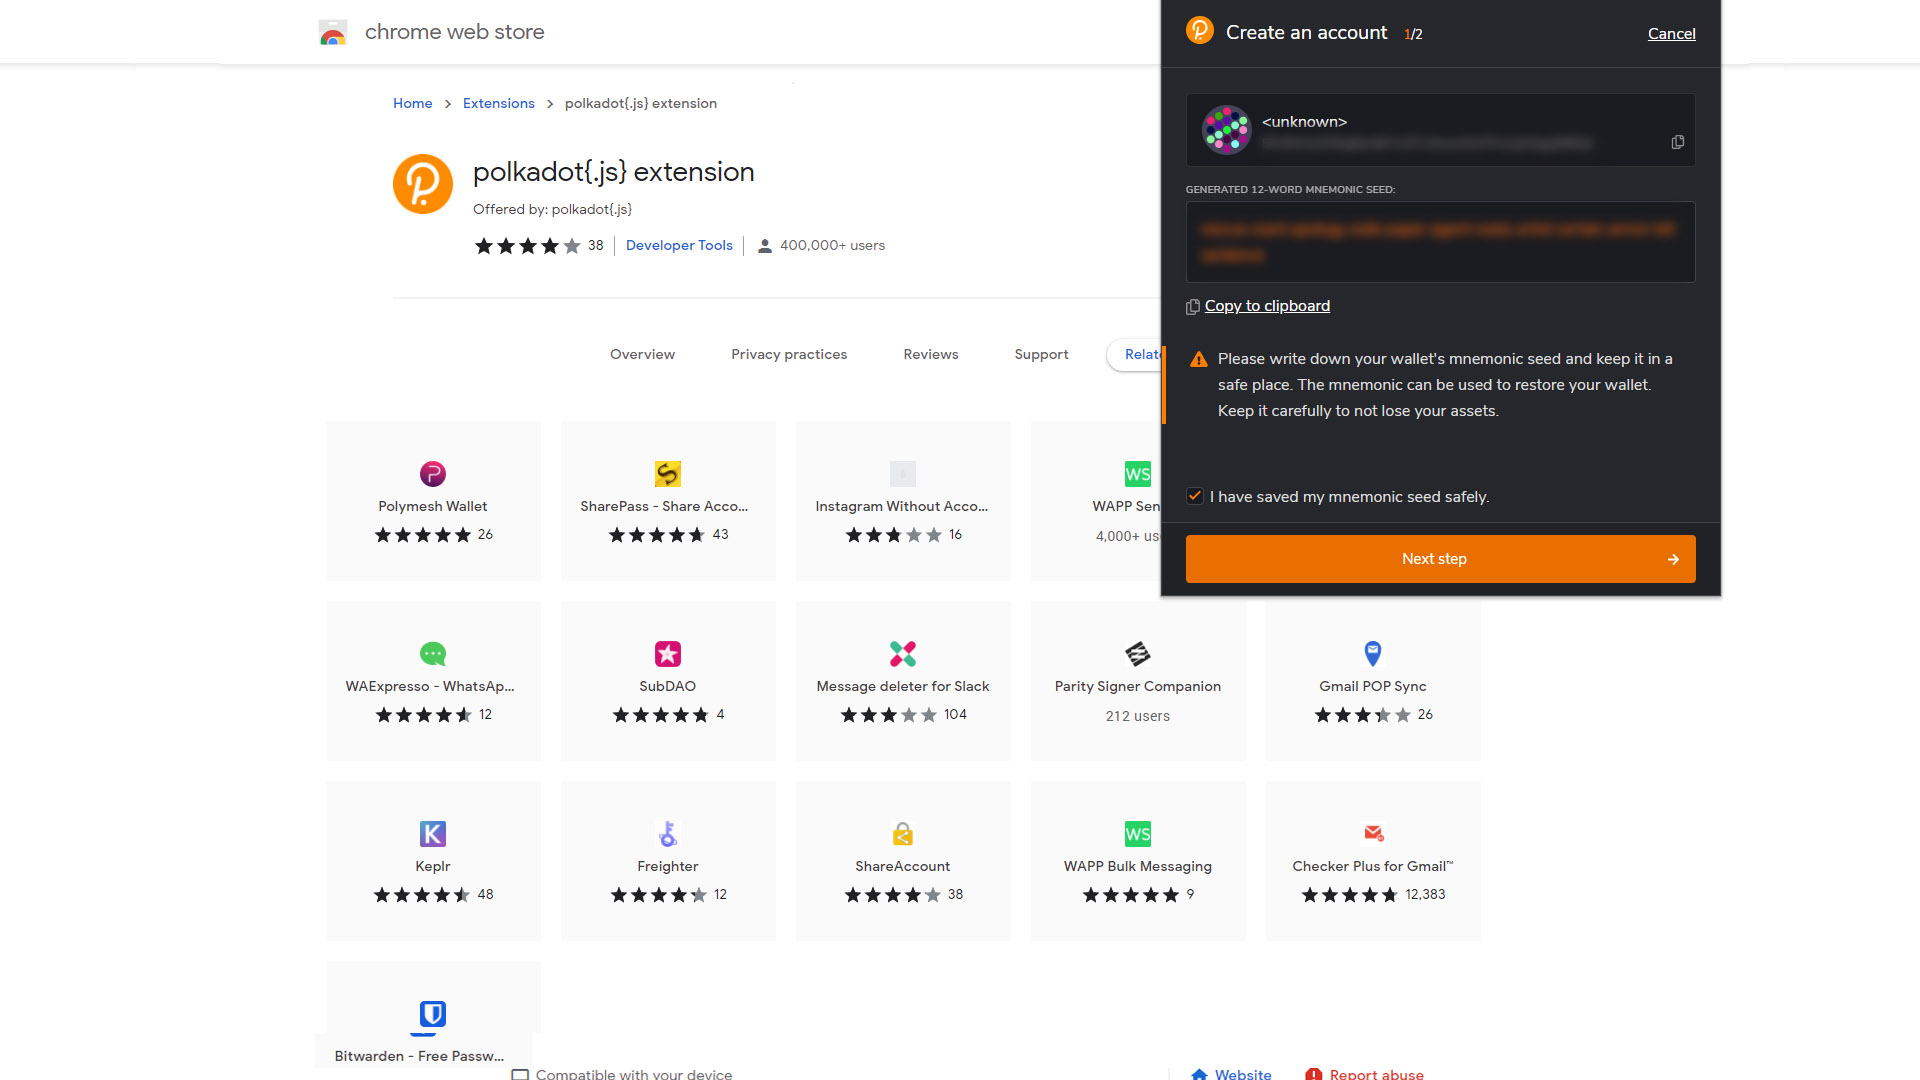
Step 9
After completing the previous step, you will be taken to the account creation process, consisting of two steps. The first one will display your wallet address, which you should safely save for further reference, and a 12-word mnemonic seed will be automatically generated for you, which will be tied to your wallet address. As before, please save your wallet’s mnemonic seed and keep it in a safe place. As stated below, “the mnemonic can be used to restore your wallet. So keep it carefully not to lose your assets.” After properly saving this information somewhere safe, tick the “I have saved my mnemonic seed safely” box and click on “Next step”, as shown below.
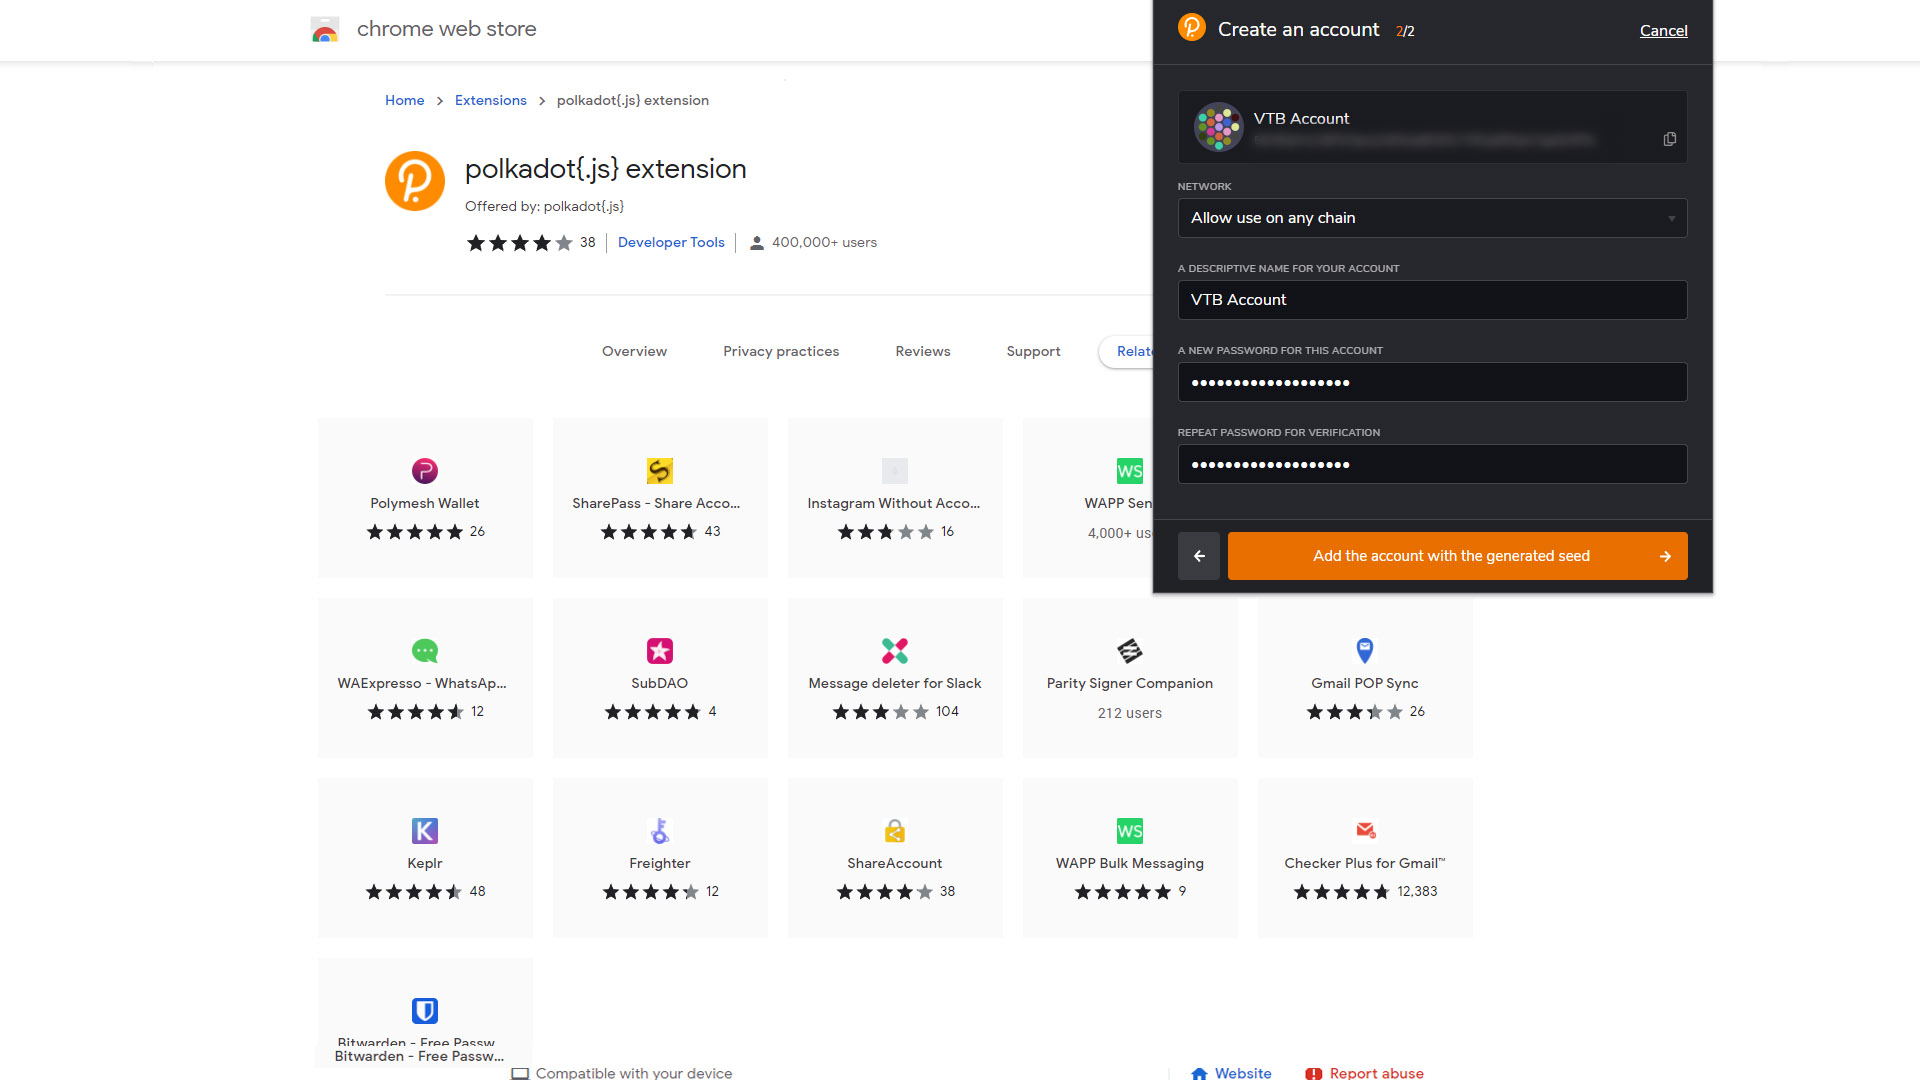
Step 10
The next step of the Polkadot wallet creation requires you to select your network, which should have “Allow use on any chain”. You may also describe the account right after. You can use whichever title you wish, and in the image below, you will see that we typed in “VTB Account” as our account description. Following that section, you will encounter the password area, where you will be prompted to type in a password for the account. Be sure to use a secure password and keep it safe alongside your Polkadot wallet details. You will be required to write your password twice to use the same one and save it accordingly. After doing this, you should then click on “Add the account with the generated seed” to continue, as depicted below.
Step 11
Once your account has been created, you may navigate back to the VTBDex and reload the page so that it acknowledges the extension installation and so that you can connect your Polkadot account with the VTBDex. Then, click on “Connect” to properly connect the extension to the VTBDex and move on to the next step.

Step 12
Once the VTBDex has recognized your Polkadot wallet extension, you will be prompted to connect your account to the VTBDex. You should click on the button that reads “Yes, allow this application access” to enable the proper association, as depicted below.

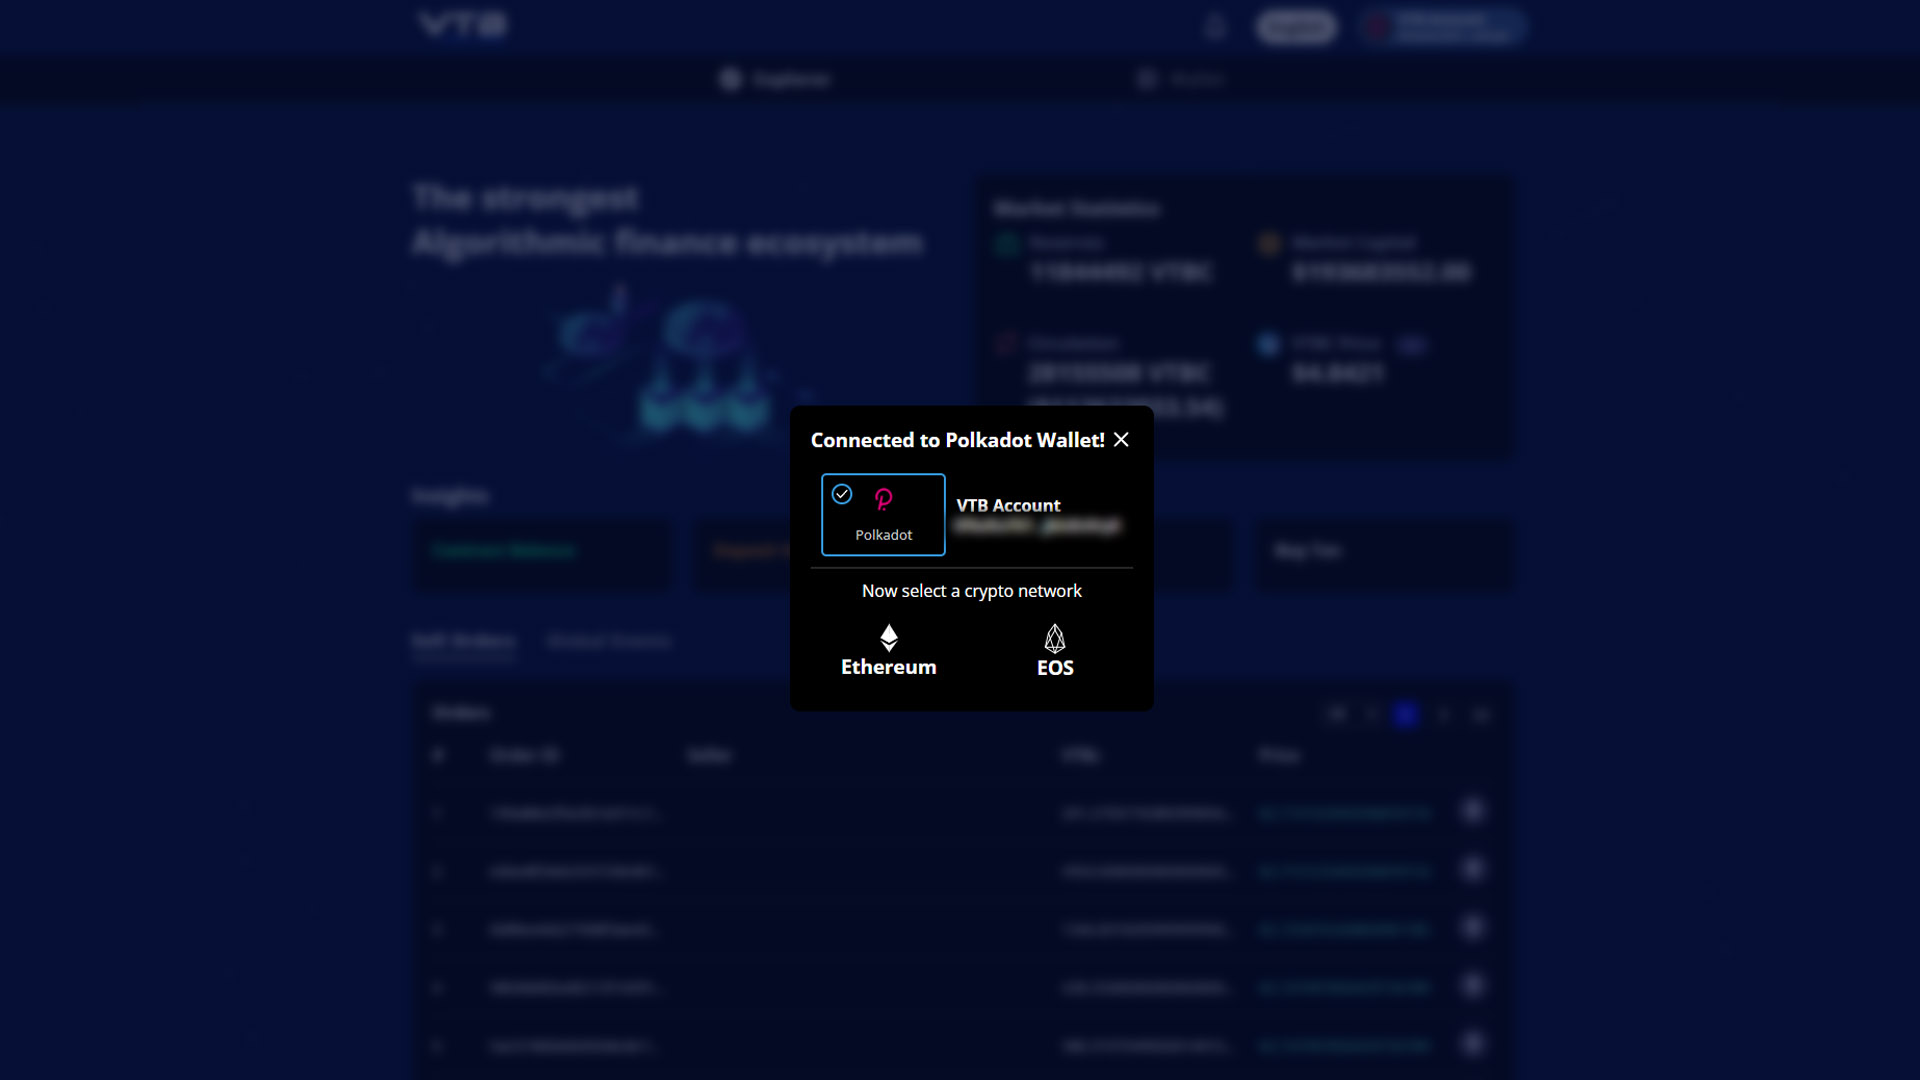
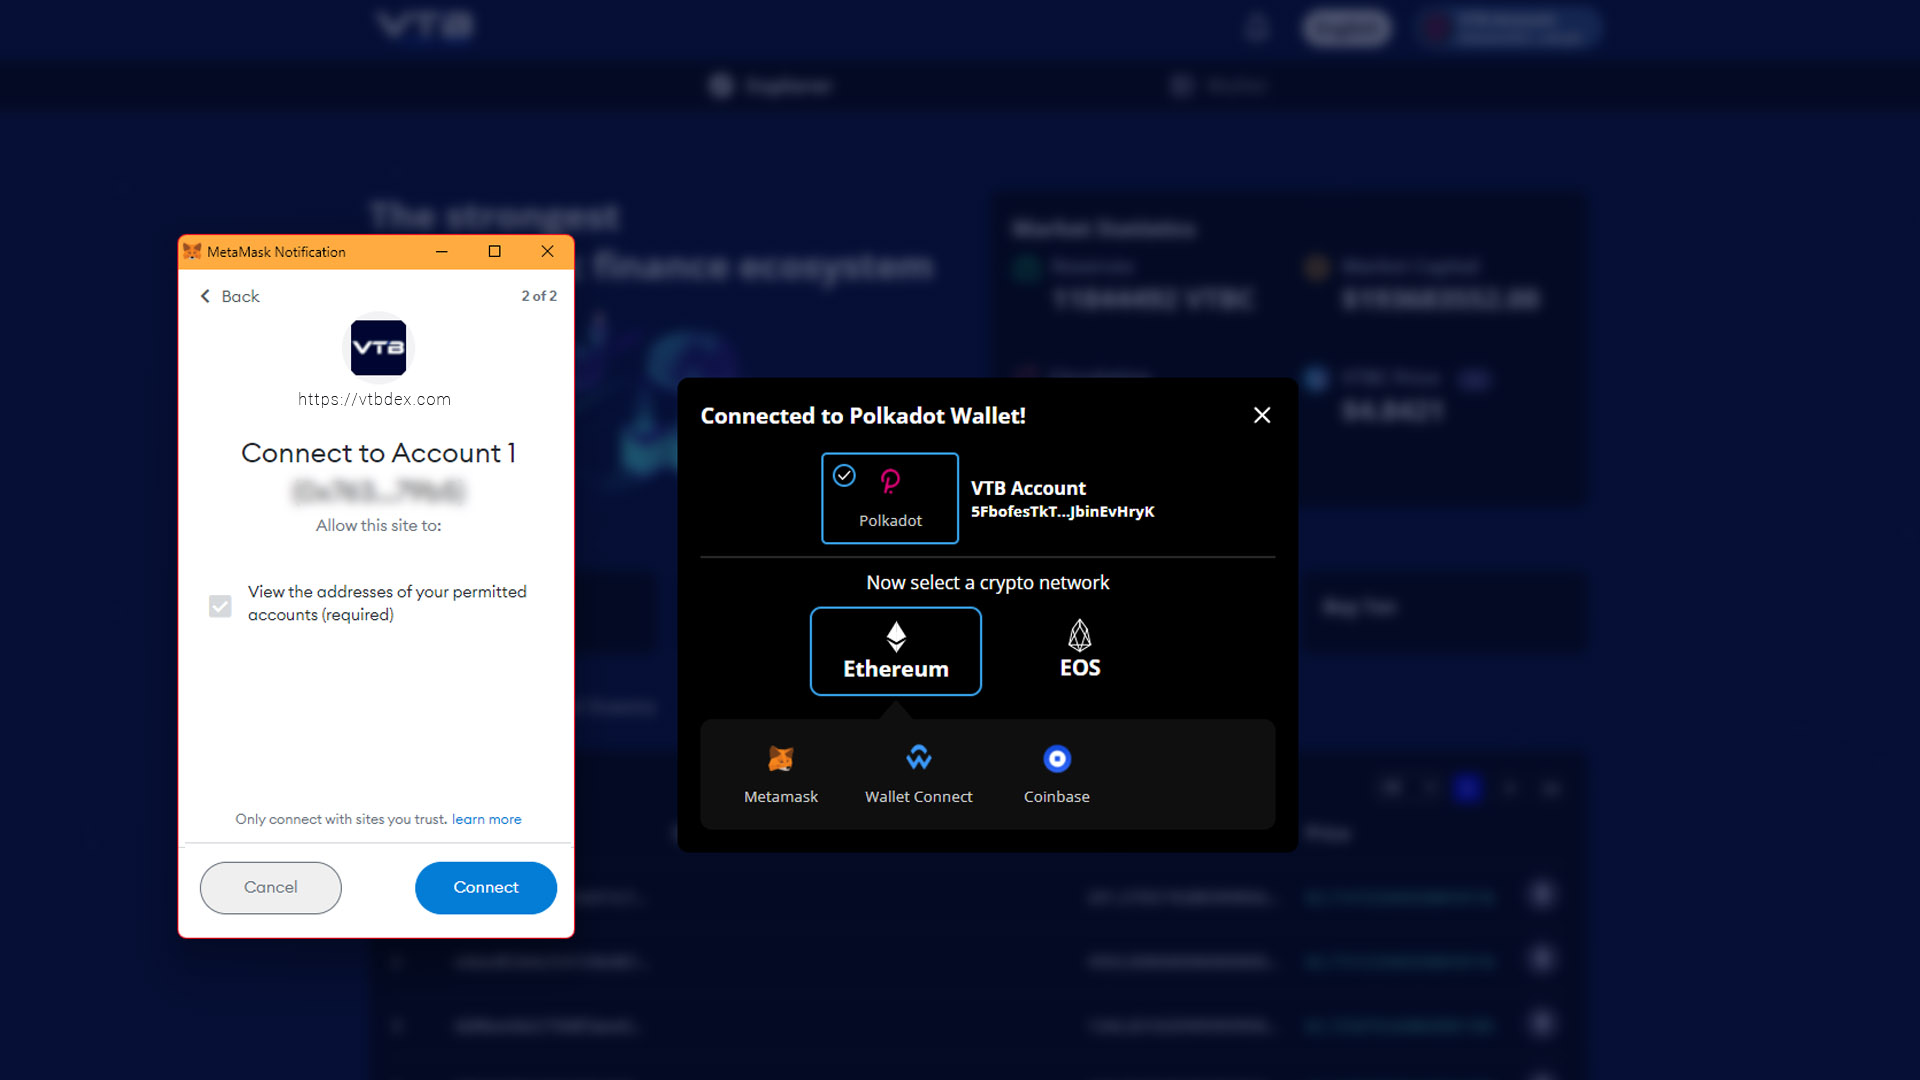
Step 13
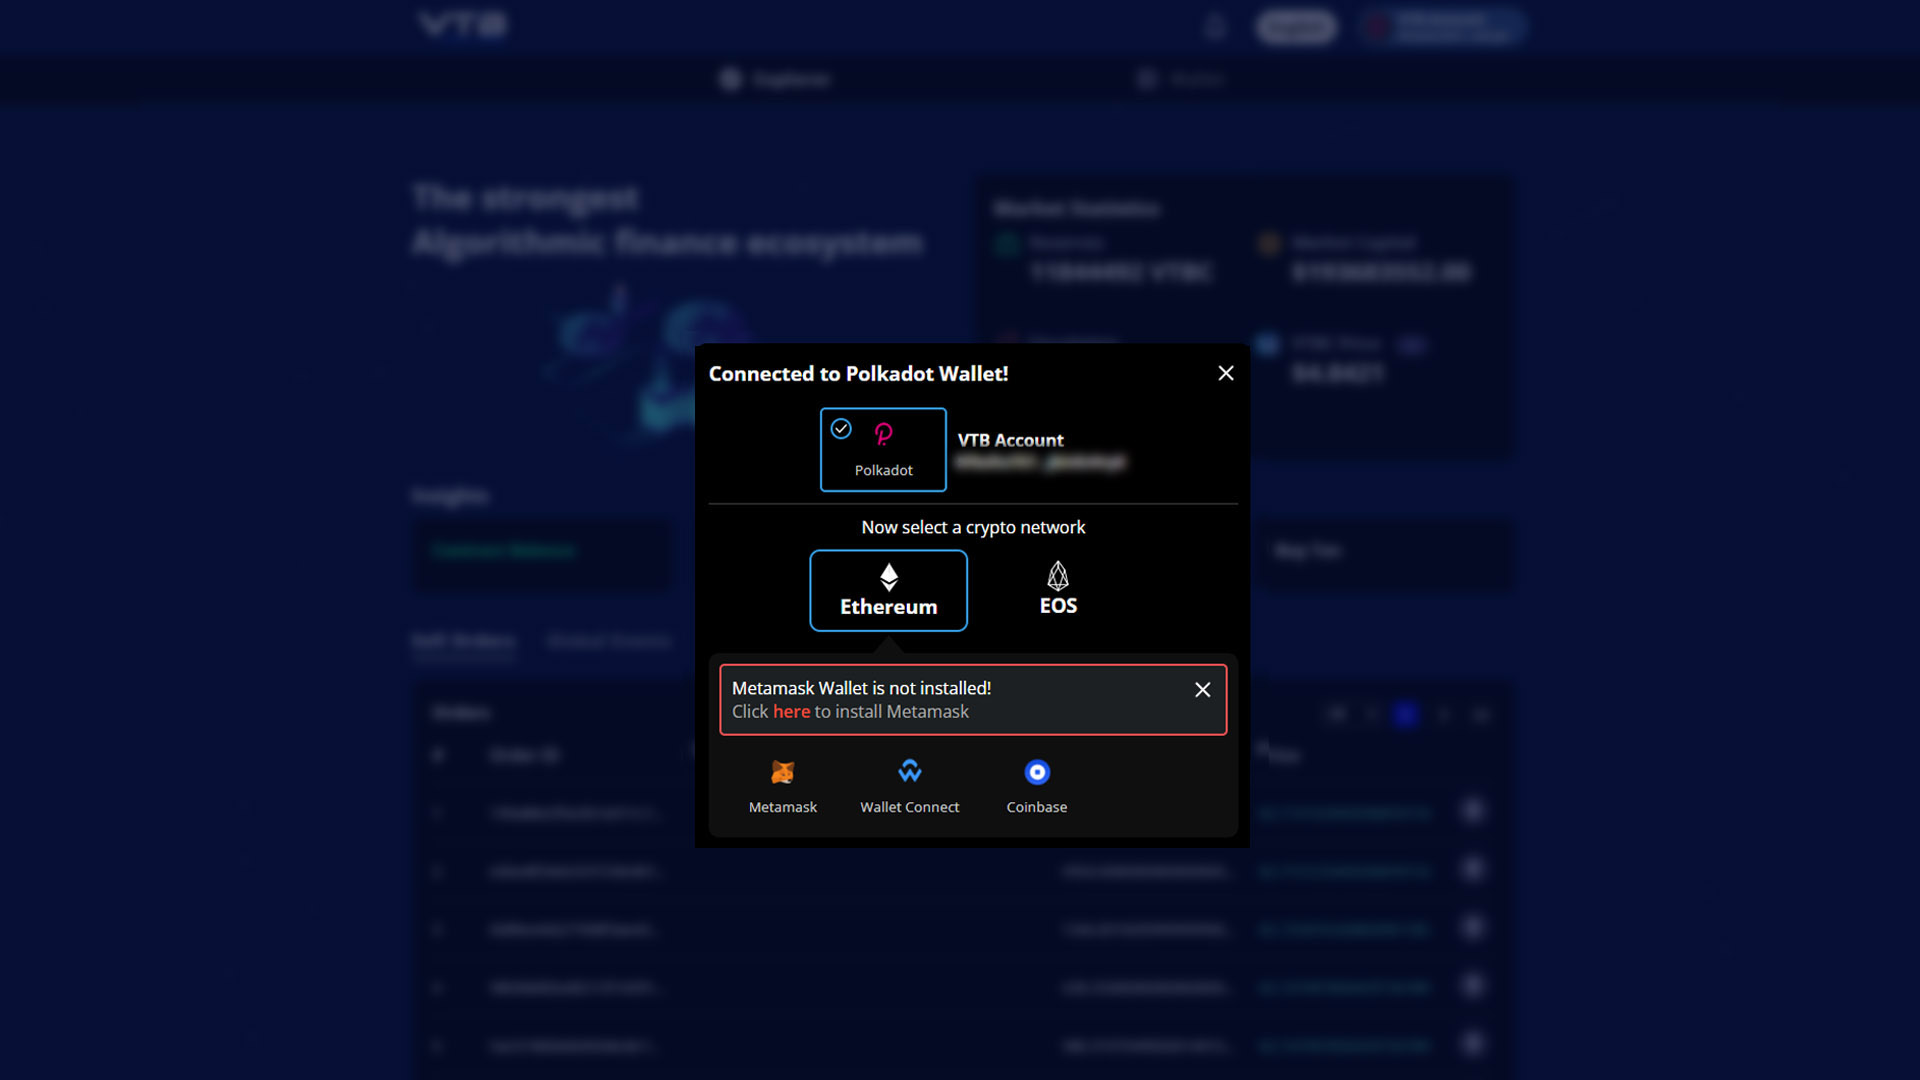
Following the association of your Polkadot wallet to the VTBDex, you will be prompted to select a crypto network. We will tackle the Ethereum network for Ethereum users in the following steps. Please click on Ethereum to move to the next step, as shown below. (For EOS users, we will cover the steps in another topic purely dedicated to it.)
MetaMask (for Ethereum users)
MetaMask is a software cryptocurrency wallet used to interact with the Ethereum blockchain. It allows users to access their Ethereum wallet through a browser extension or mobile app, which you can use to interact with decentralized applications. Moreover, MetaMask has a browser extension for accessing Ethereum enabled distributed applications or “Dapps” in your browser, which you can install on Chrome to connect your wallet to the VTBDex.
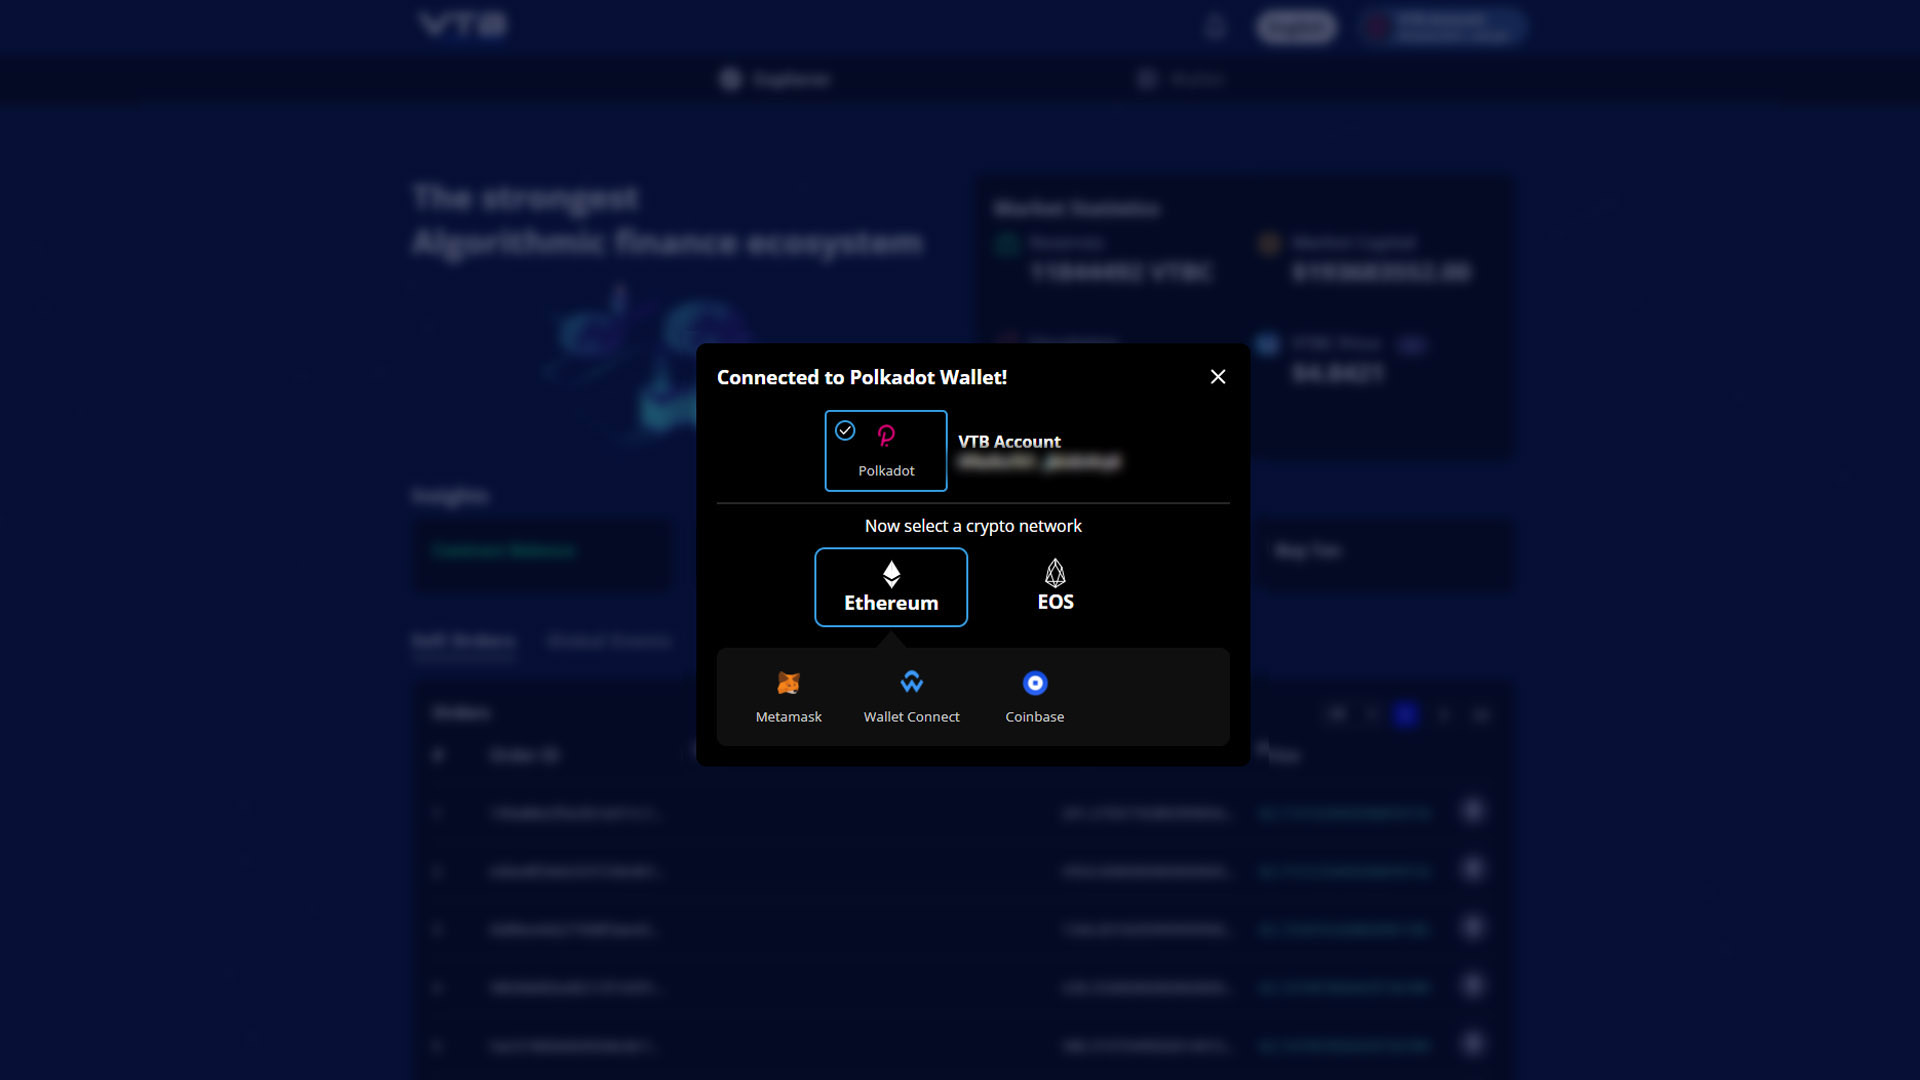
Step 14
As you follow through with the connection to the Ethereum network, you will be prompted to select the type of Ethereum-enable wallet to associate with your VTBDex account. As we go through the MetaMask wallet connection, you should choose MetaMask as pictured below.
Step 15
If you have not installed the MetaMask extension, the VTBDex will detect that. You will then have to click on the URL labelled as “Click here” on the legend appearing on the screen to do so, as shown below.
Step 16
After clicking on the URL in the previous step, you will be taken to the MetaMask installation page. It will offer different options to download, and, in this example, we will be focusing on the Chrome installation. So, please go ahead and click on “Install MetaMask for Chrome” and move on to the next step.

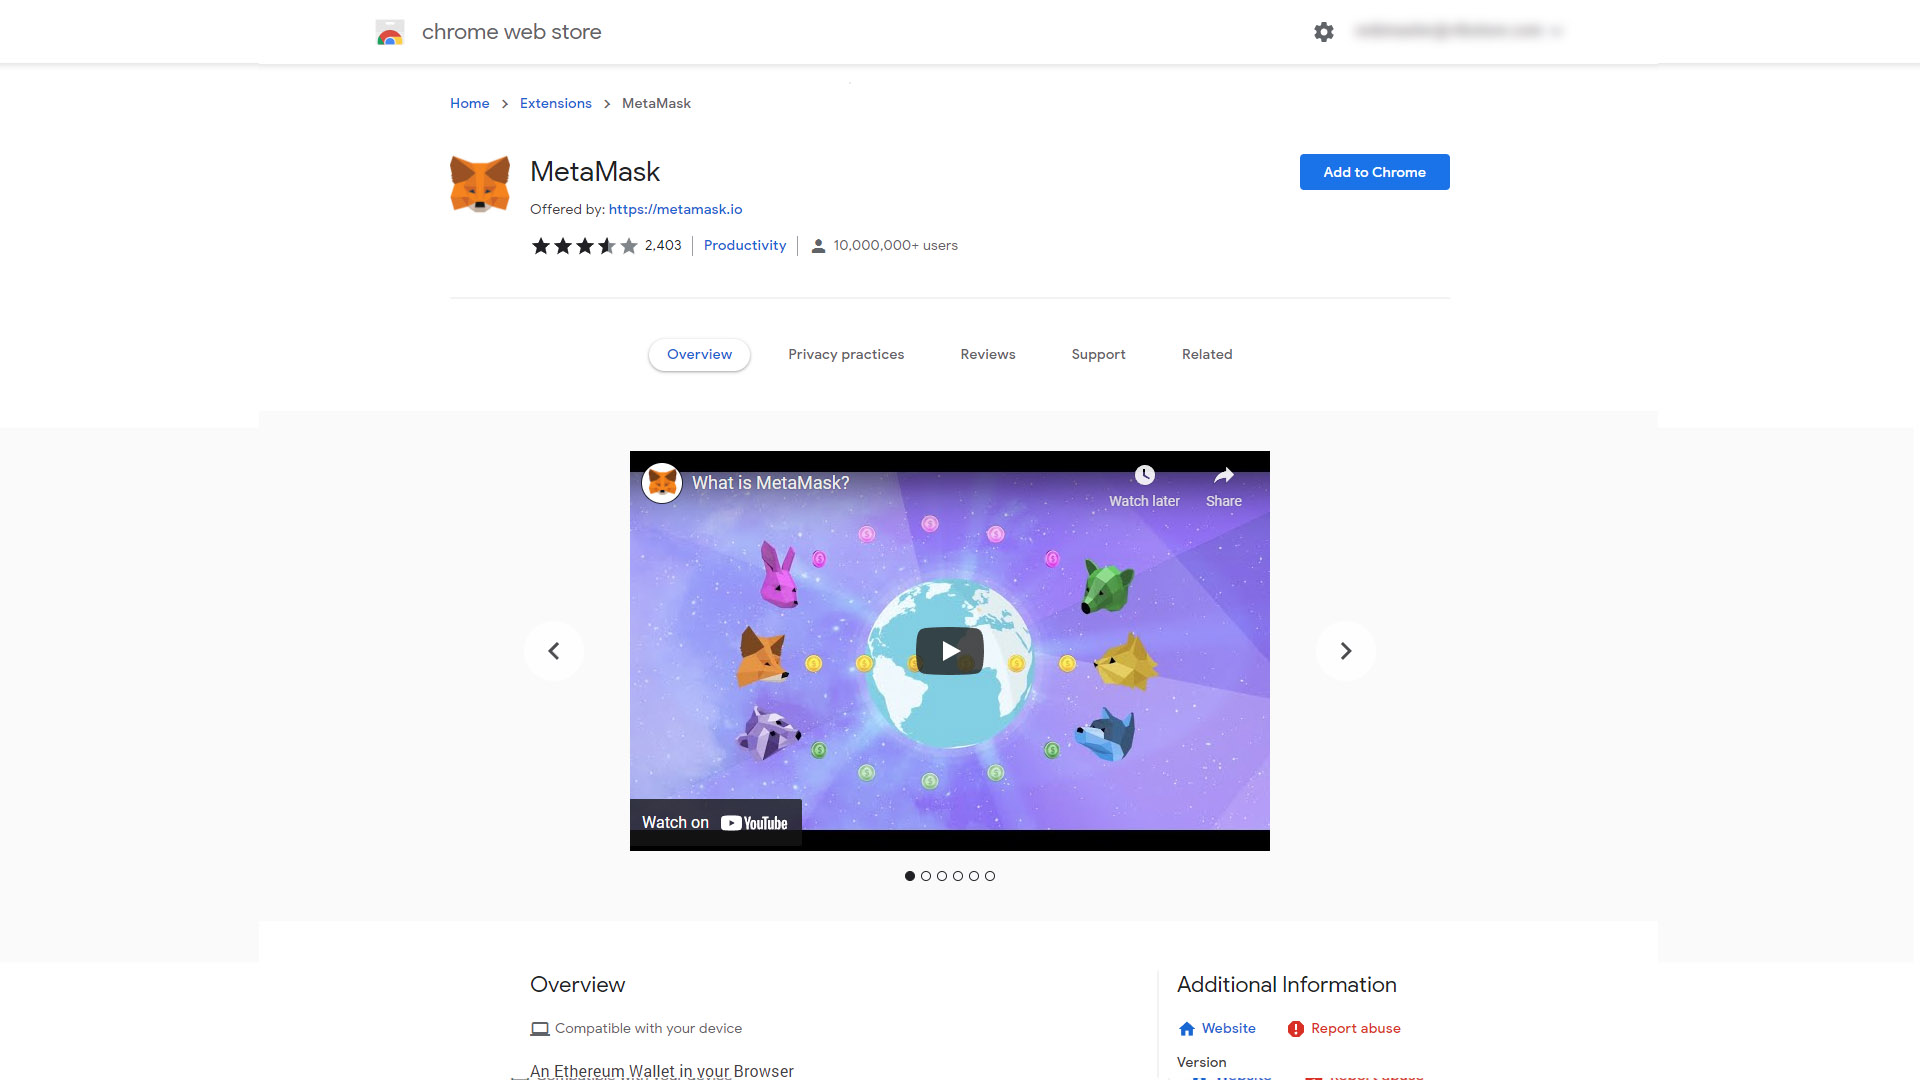
Step 17
After clicking on the link mentioned above, you will be taken to the Chrome Web Store to install the MetaMask Chrome extension. You should go ahead and click on “Add to Chrome” to continue, as depicted below.
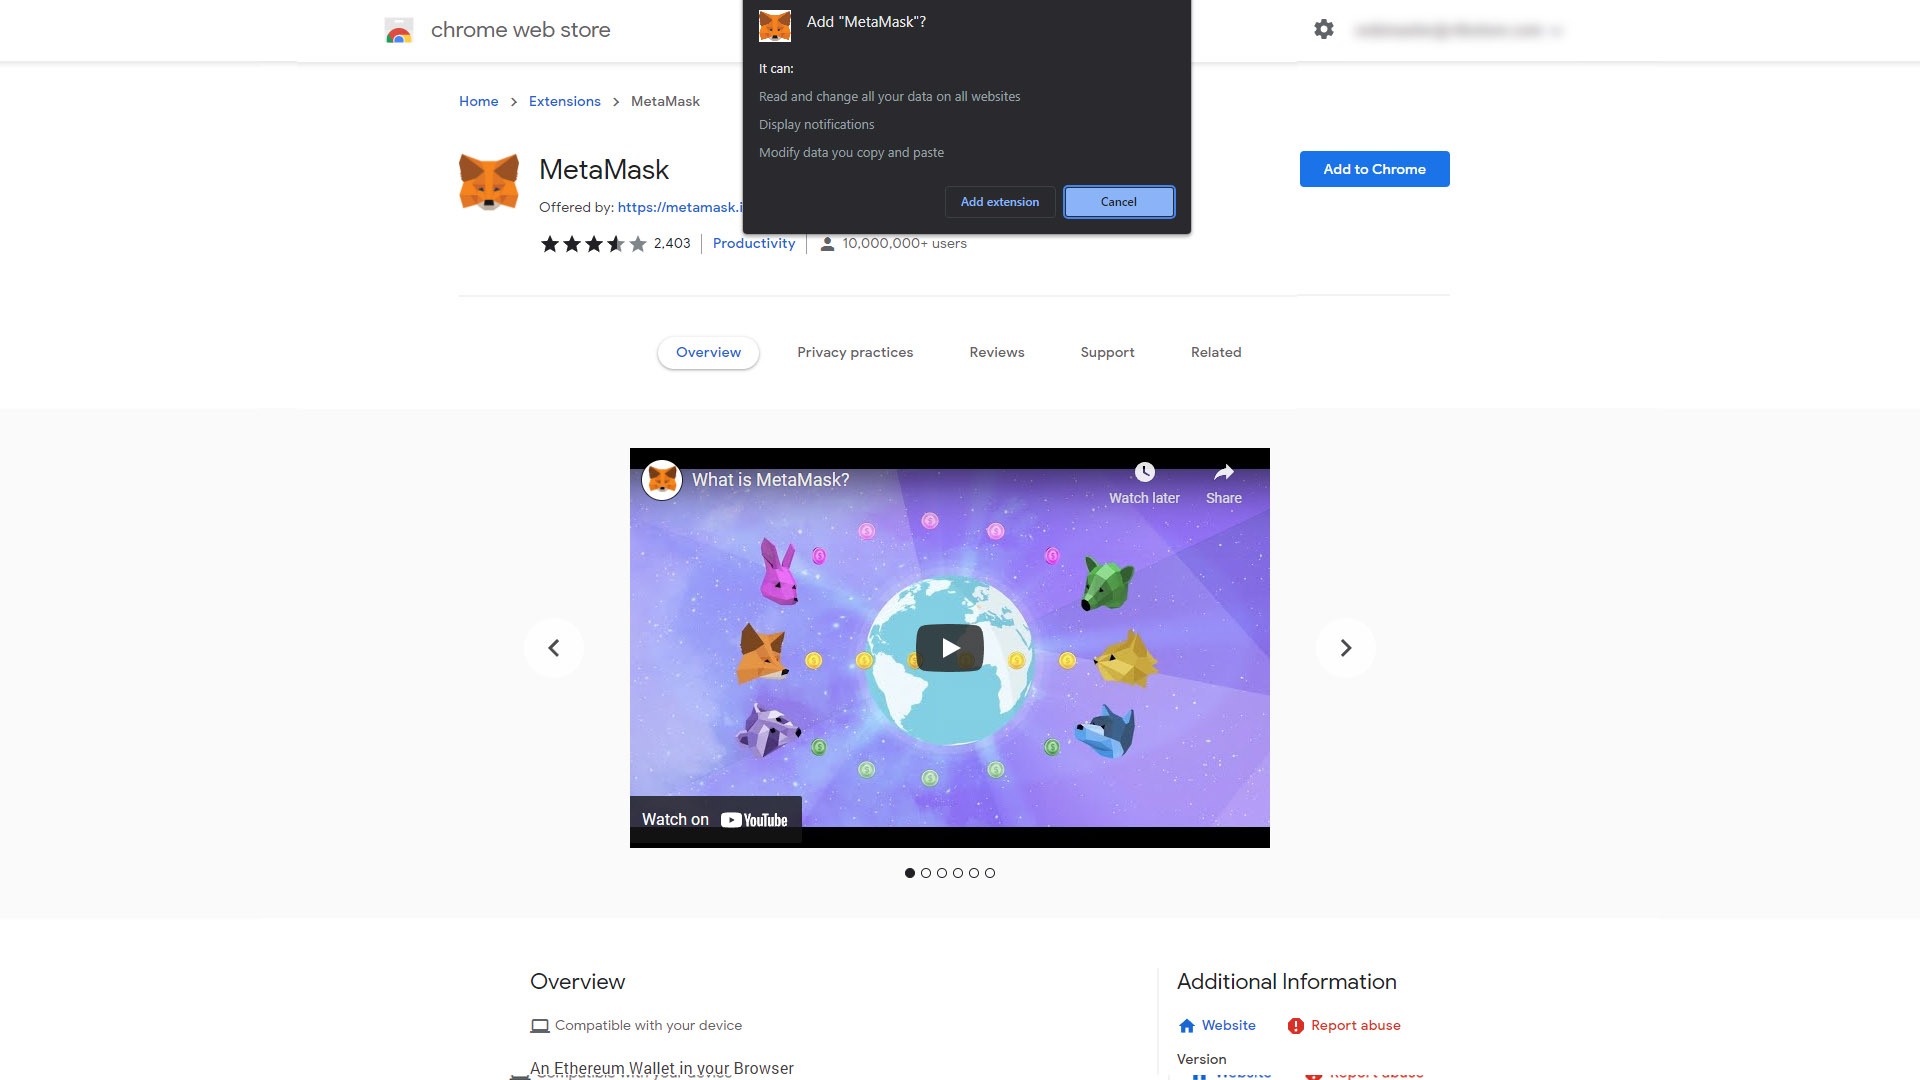
Step 18
Right after clicking on “Add to Chrome”, you will be prompted with a screen asking you to add the extension. Please go ahead and click on “Add extension” to complete your installation and move on to the next step, as shown below.
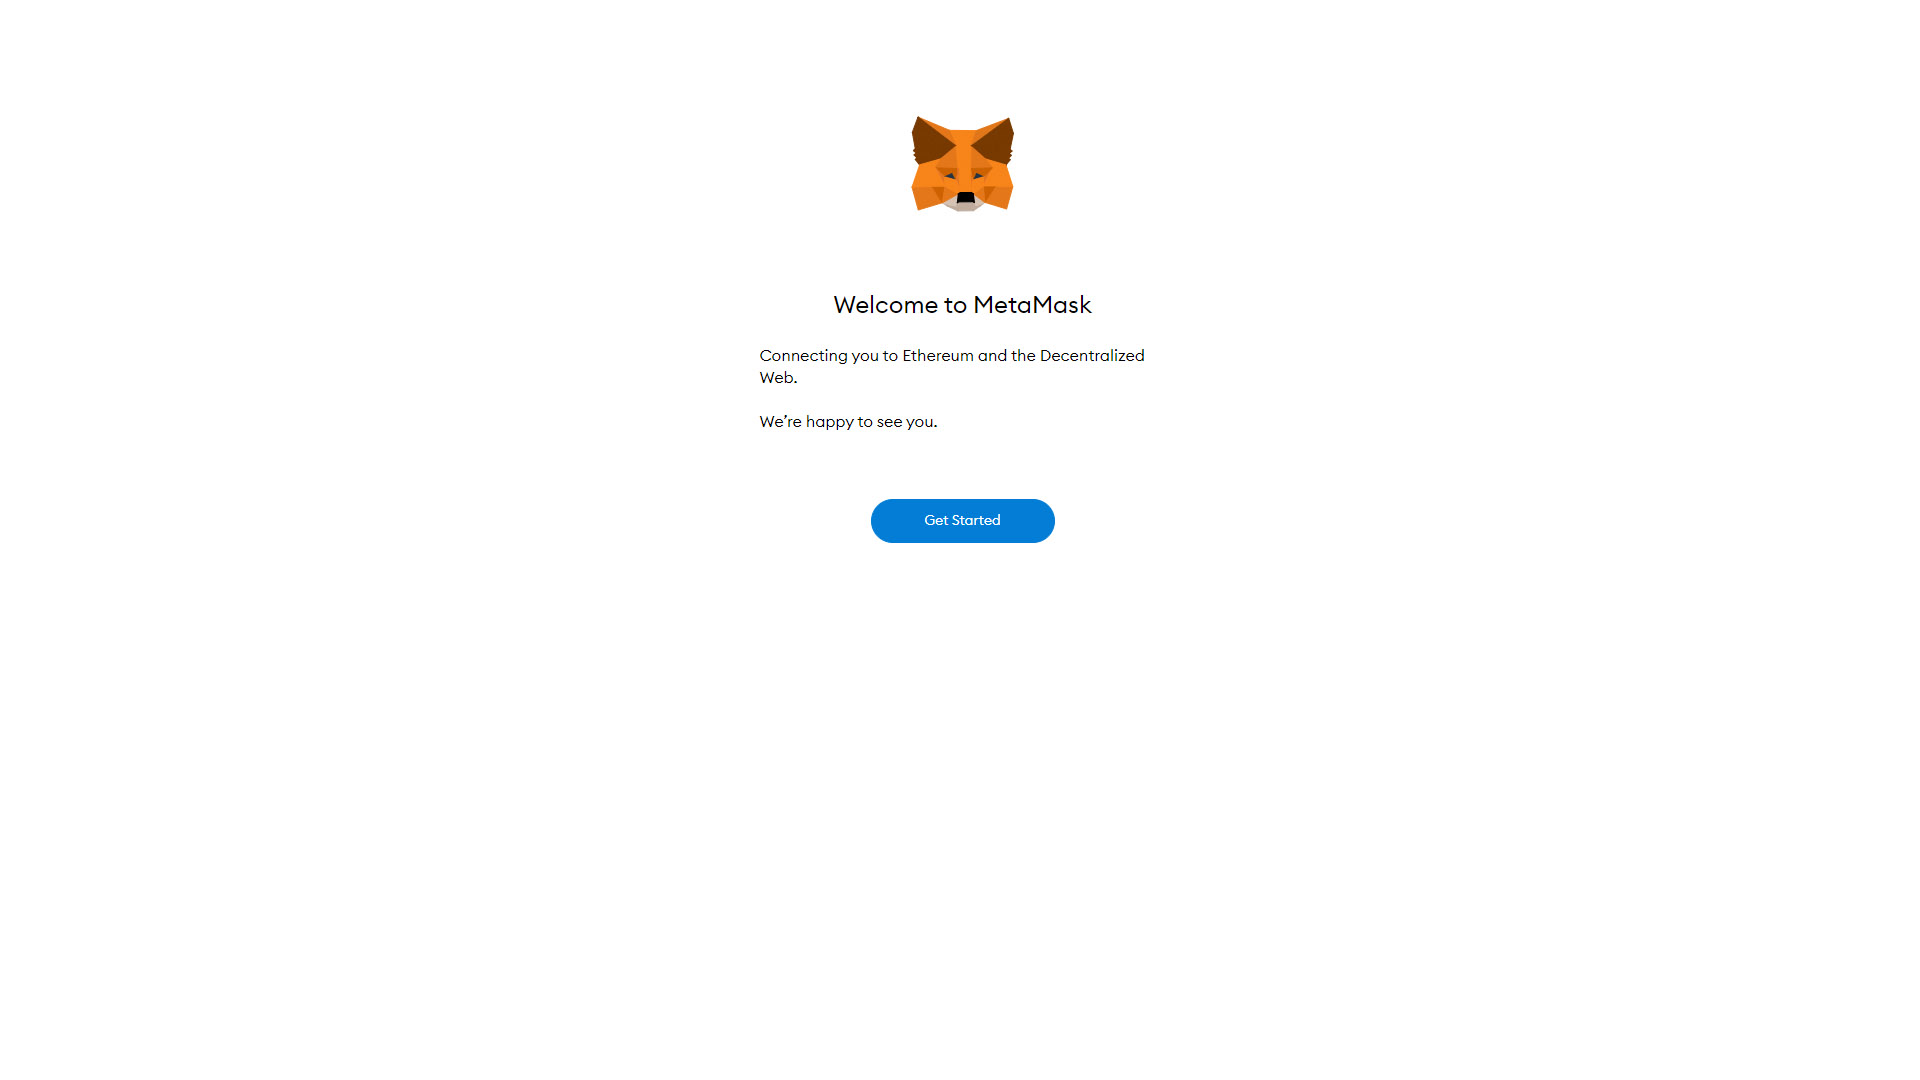
Step 19
Following your MetaMask extension installation, you will be taken to a page where you are welcomed to the MetaMask account connection. Next, click on “Get Started” to begin the process, as represented below.
Step 20
You will then be taken to a page where you need to select if you are new to MetaMask or connect it to the extension if you already have an account. In the following steps, we will briefly cover importing an existing wallet.
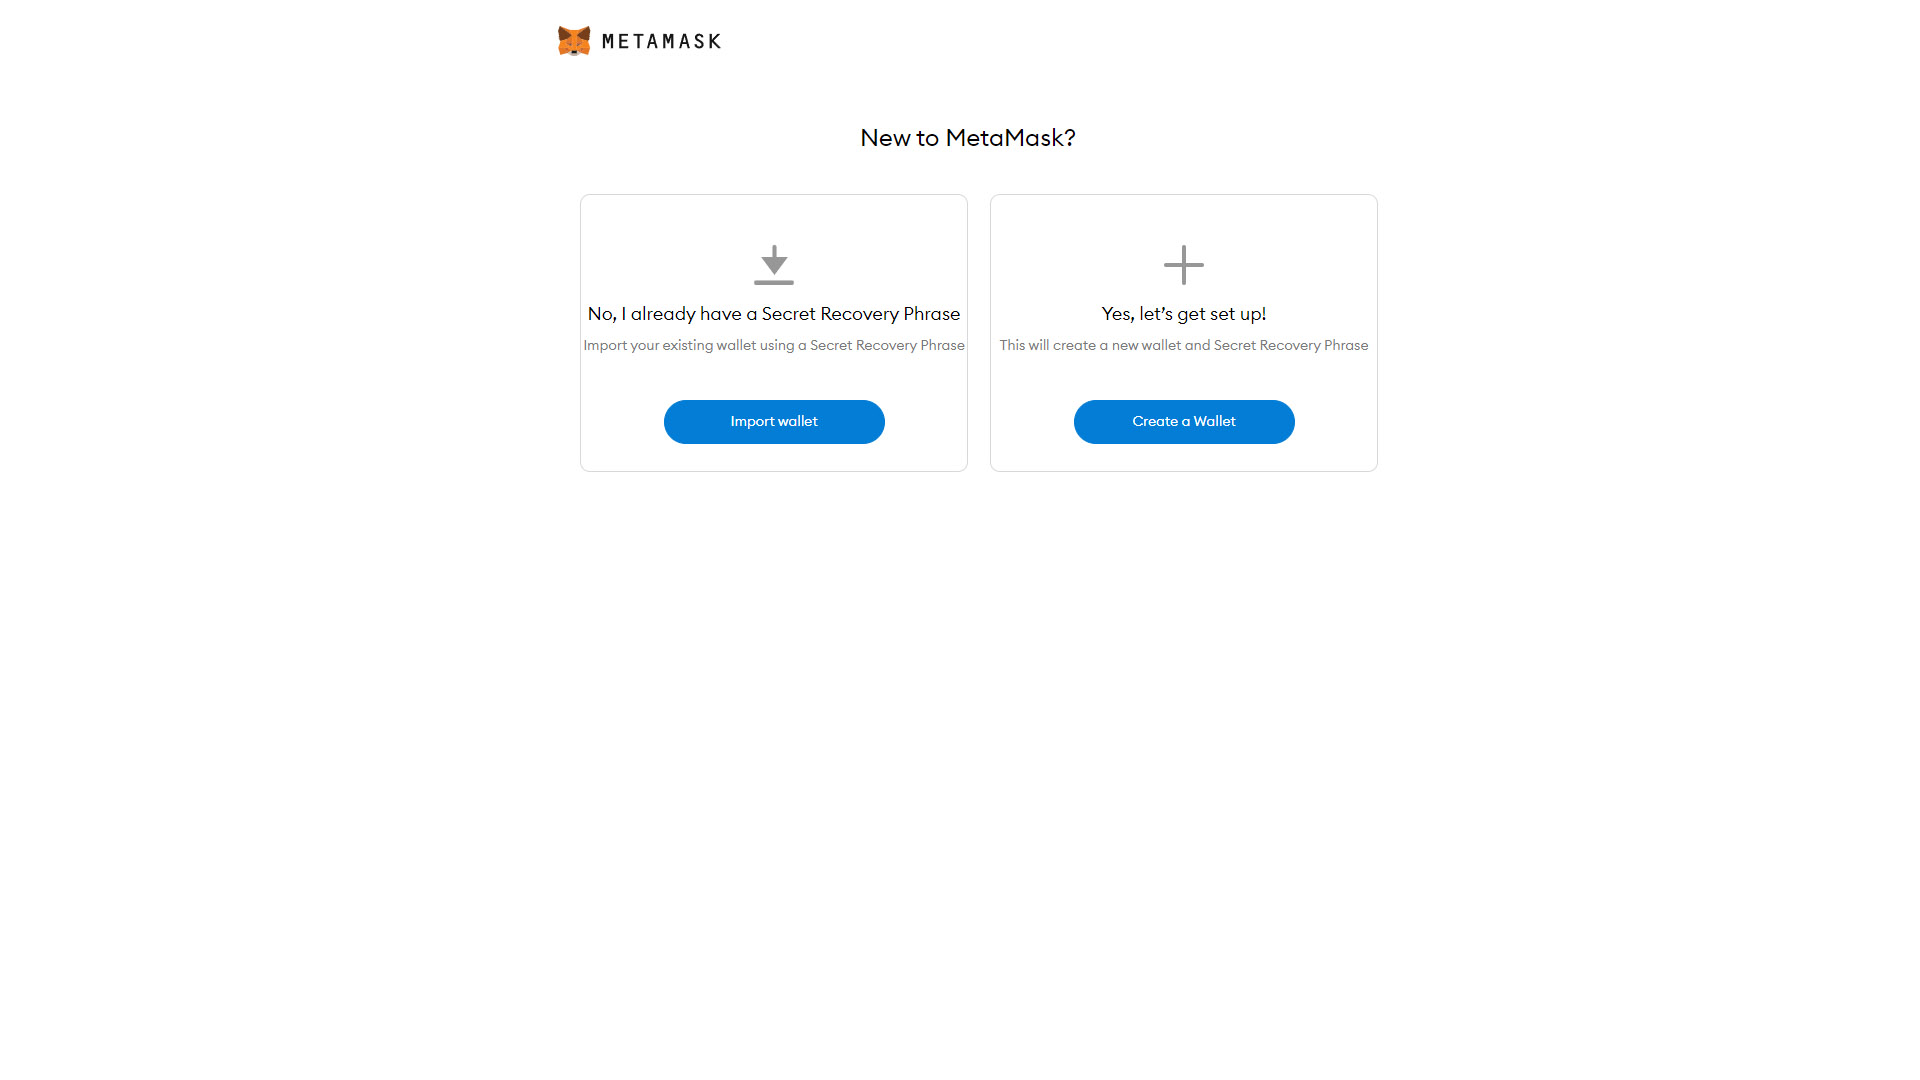
Step 21
You will then be taken to a screen where you will be asked to agree to improve MetaMask, as explained below. You may select whichever option suits you best, and neither will affect your VTBDex connection process. Choose your option and move on to the next step.
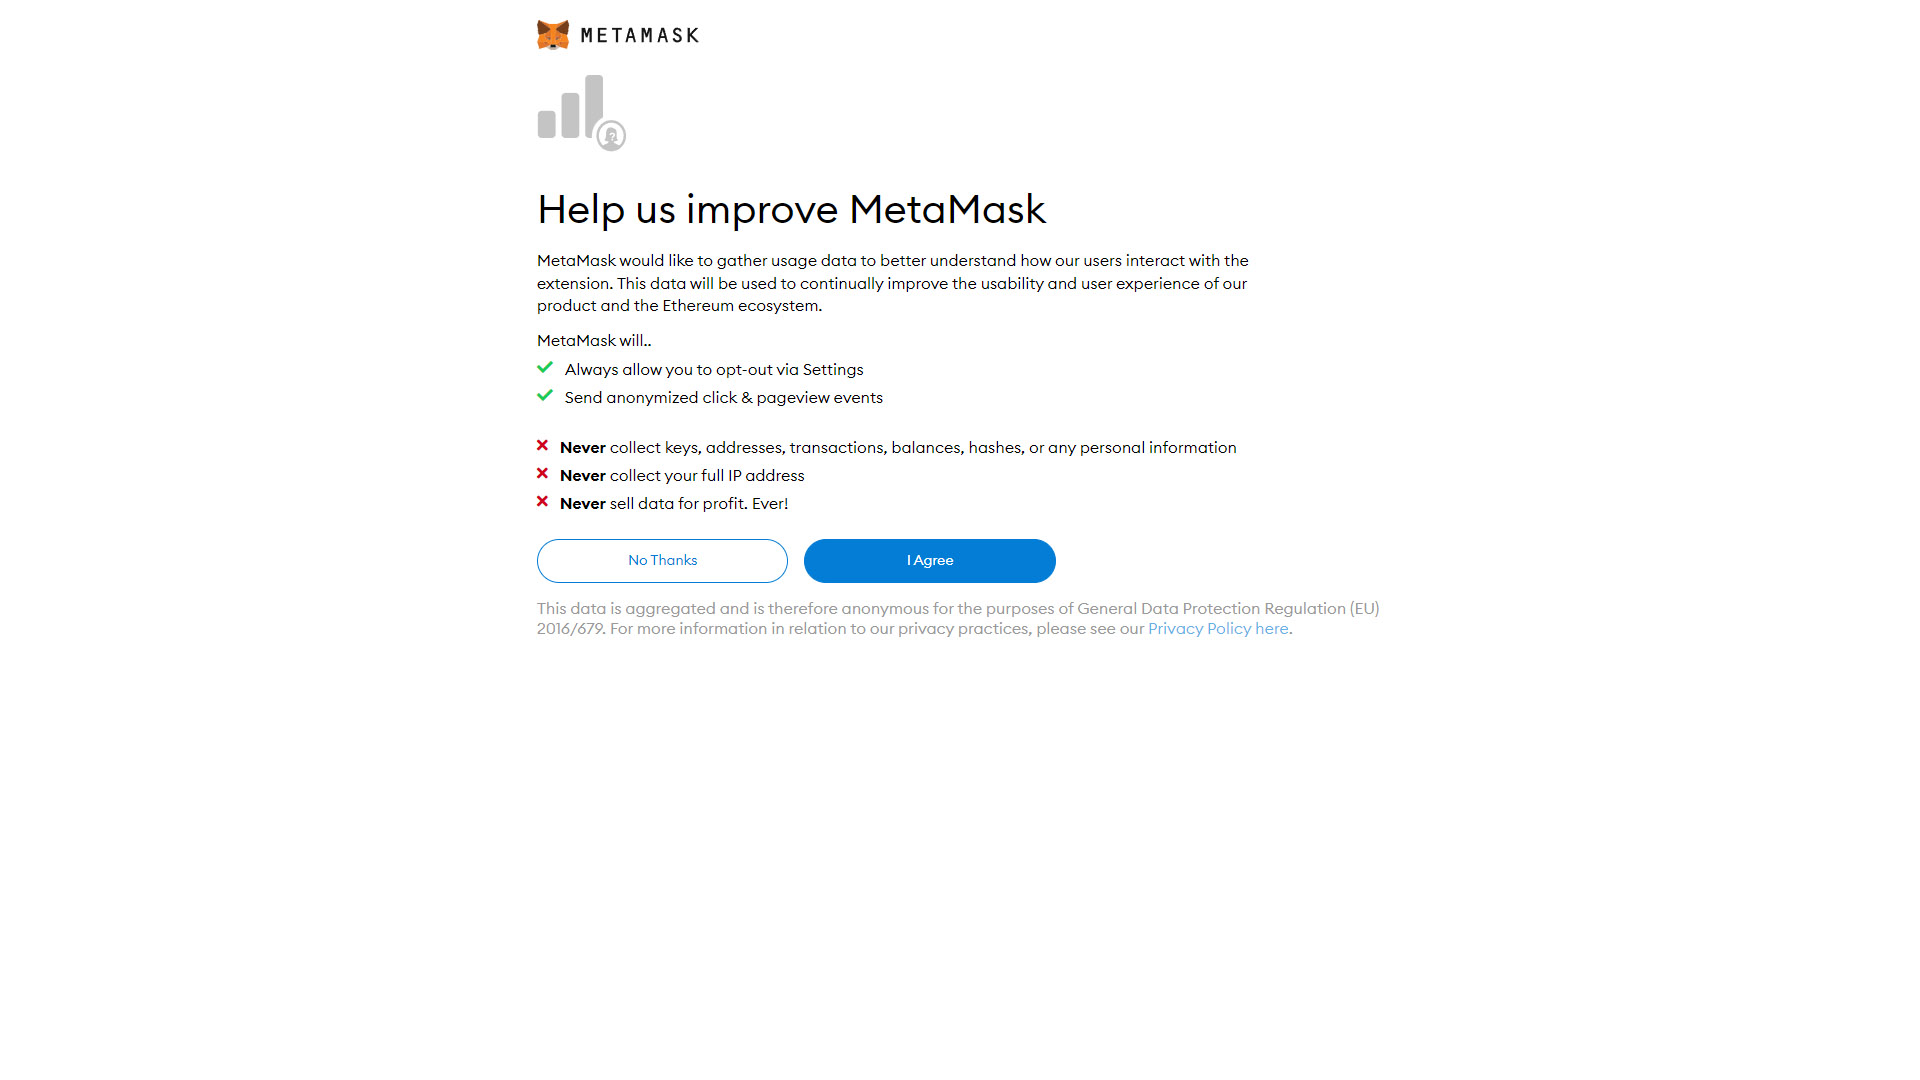
Step 22
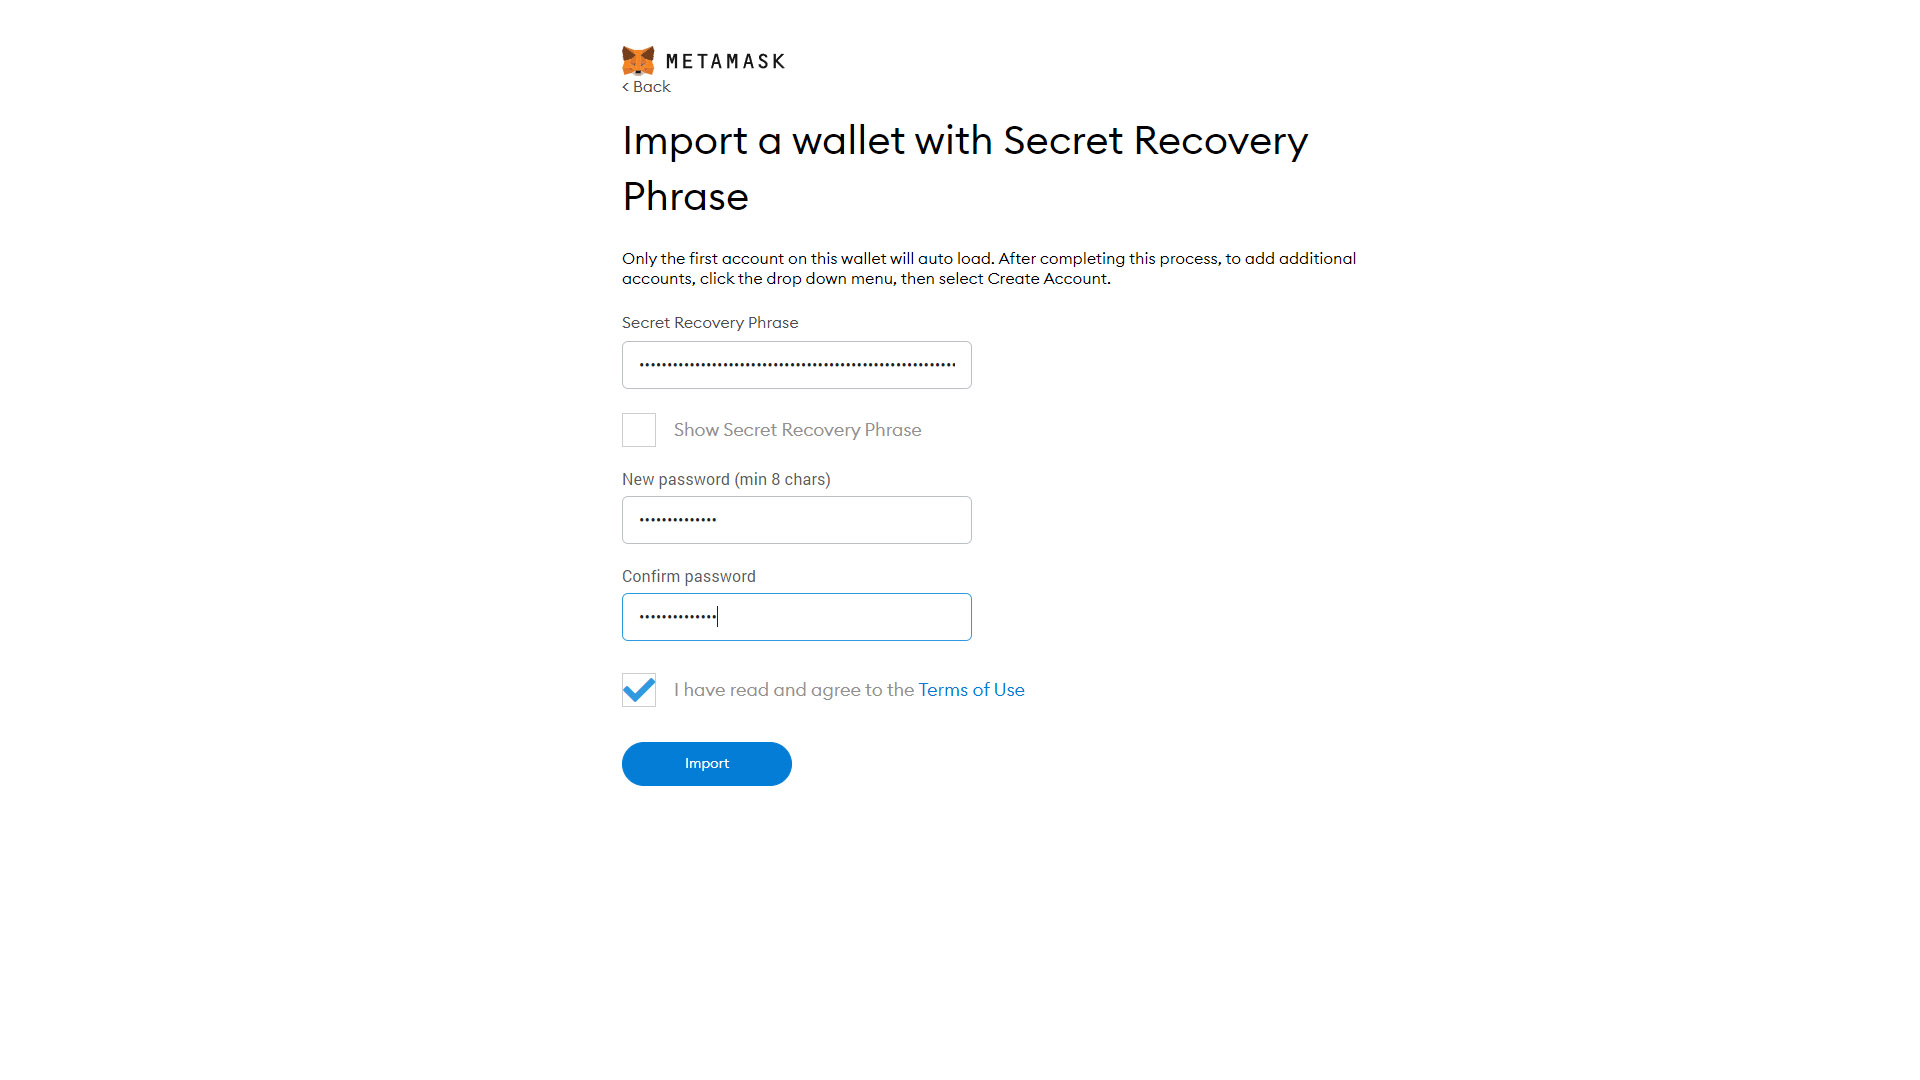
In this step, you will be able to import your wallet using your MetaMask Secret Recovery Phrase and type in a new password twice. Then, follow the required steps to complete your account import and move on to Step 28 below. If you haven’t created an account before, please go to Step 23 to keep going.
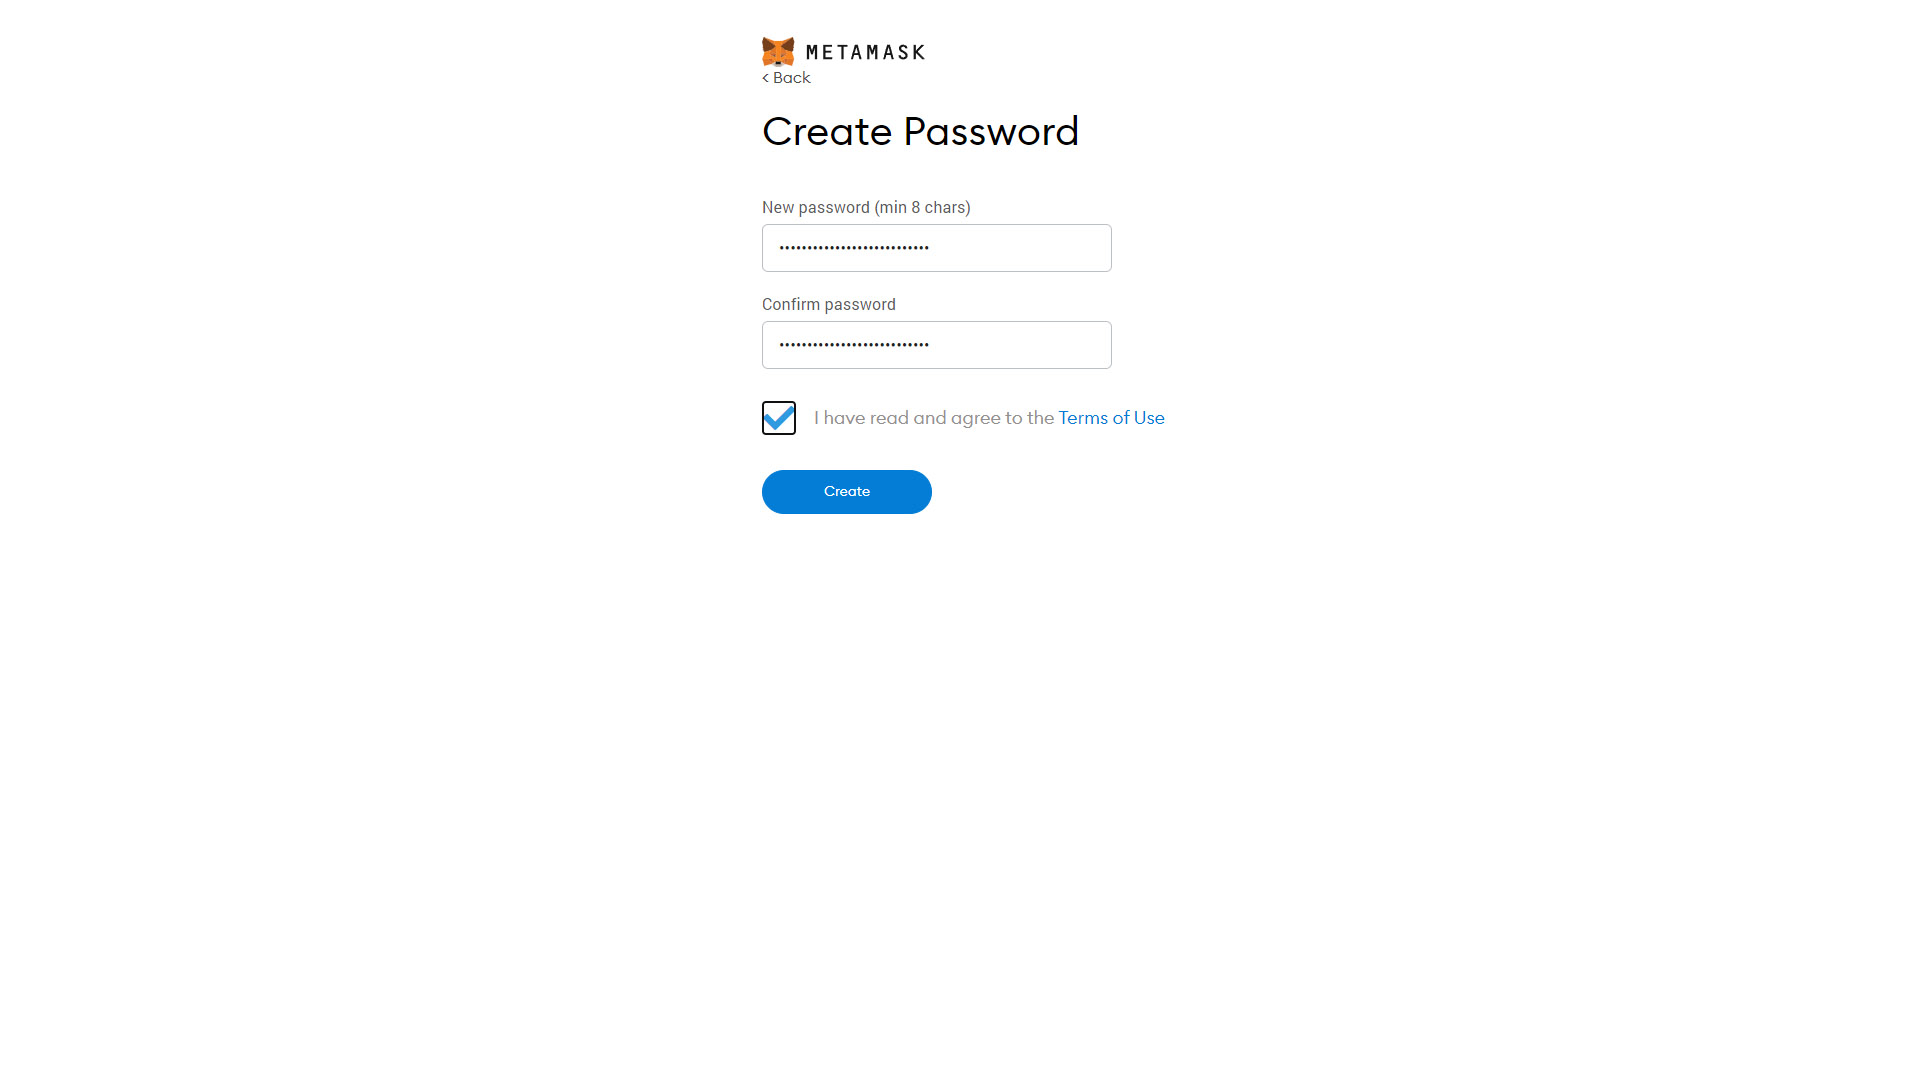
Step 23
When creating a new MetaMask account, you will be prompted first to create a secure password using a minimum of 8 characters. Be sure to use a secure password and keep it in a safe place for later access. You will also be required to read and accept the Terms of Use of MetaMask to continue, as shown below.
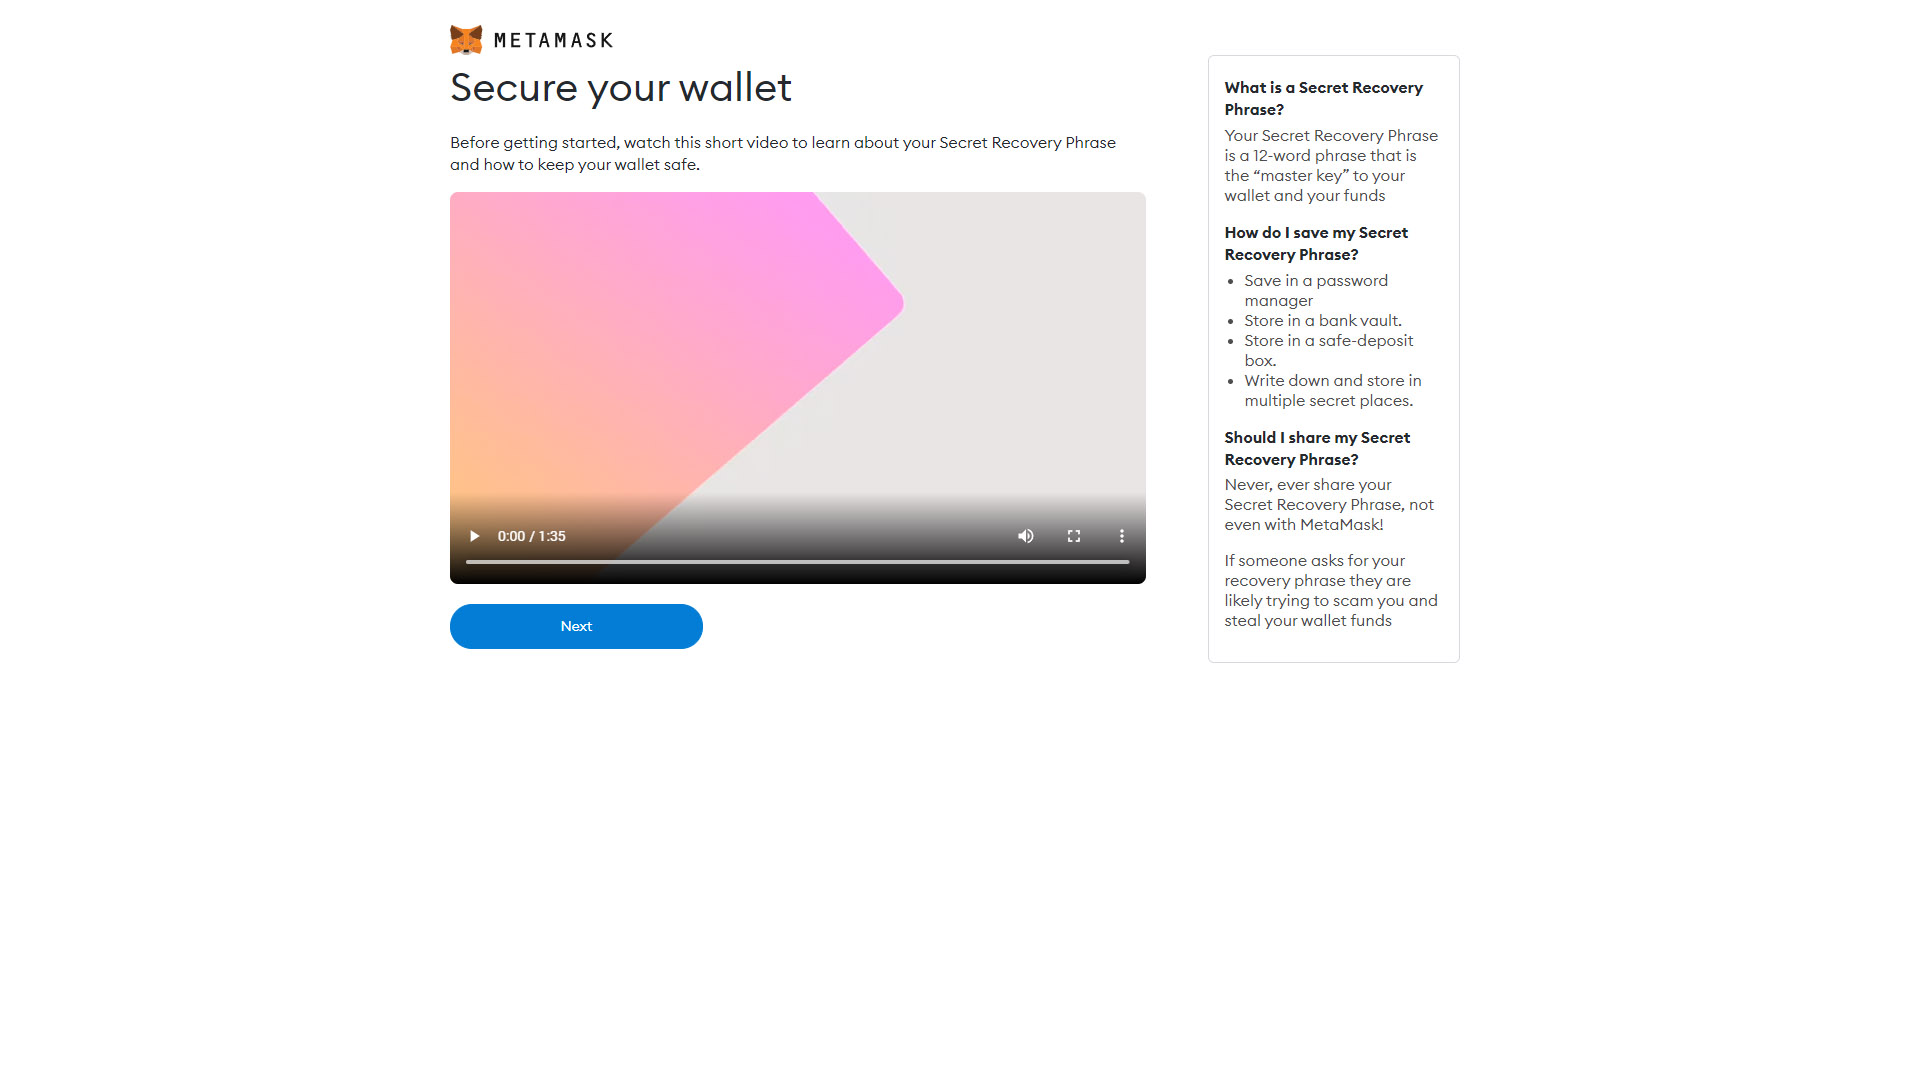
Step 24
After inputting your desired password, you will be taken to a section where you will be able to watch a video defining the MetaMask Secret Recovery Phrase and how to keep your wallet safe. After watching the video, click on the button that reads “Next”.
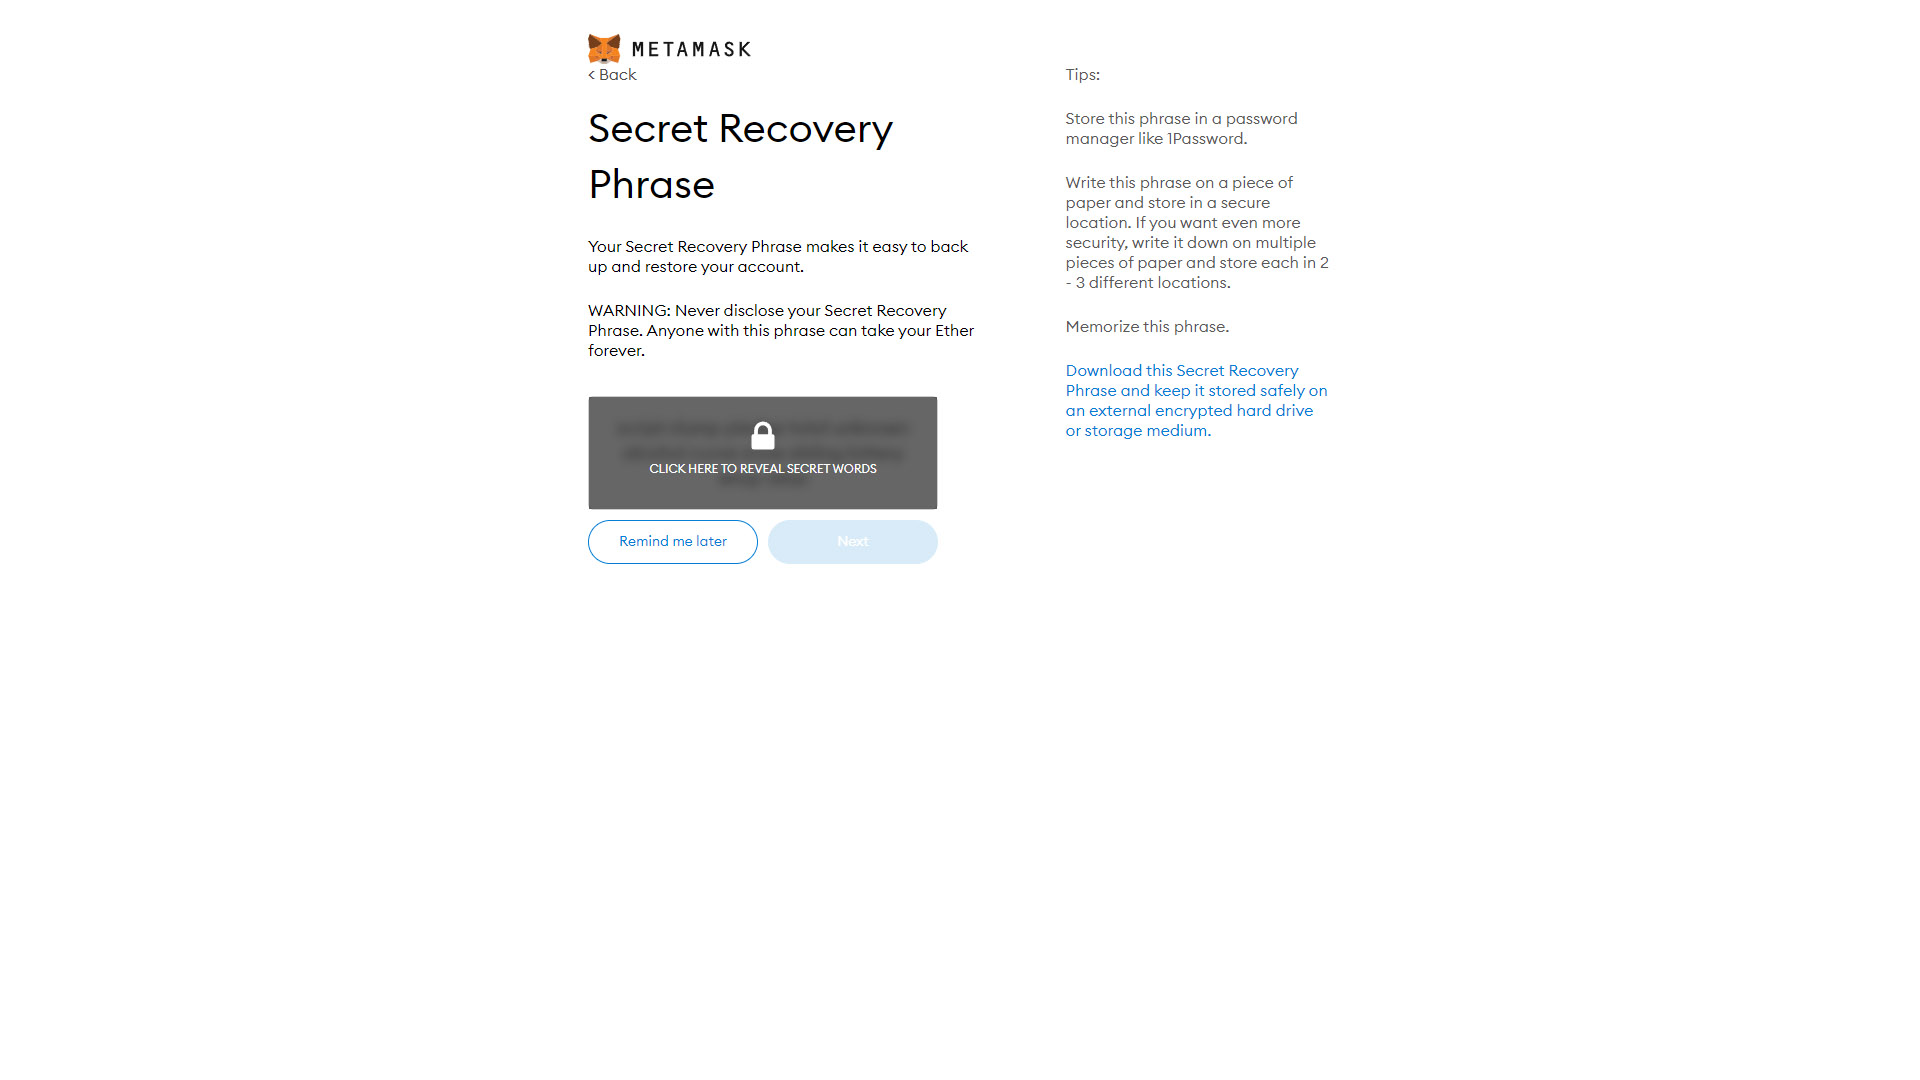
Step 25
As you follow through with the account creation, you will be presented with your unique Secret Recovery Phrase; you should keep it safe alongside your MetaMask password and use it to get access to your wallet. Next, click on the lock icon to reveal the secret words and copy them to your safe place, as shown below.
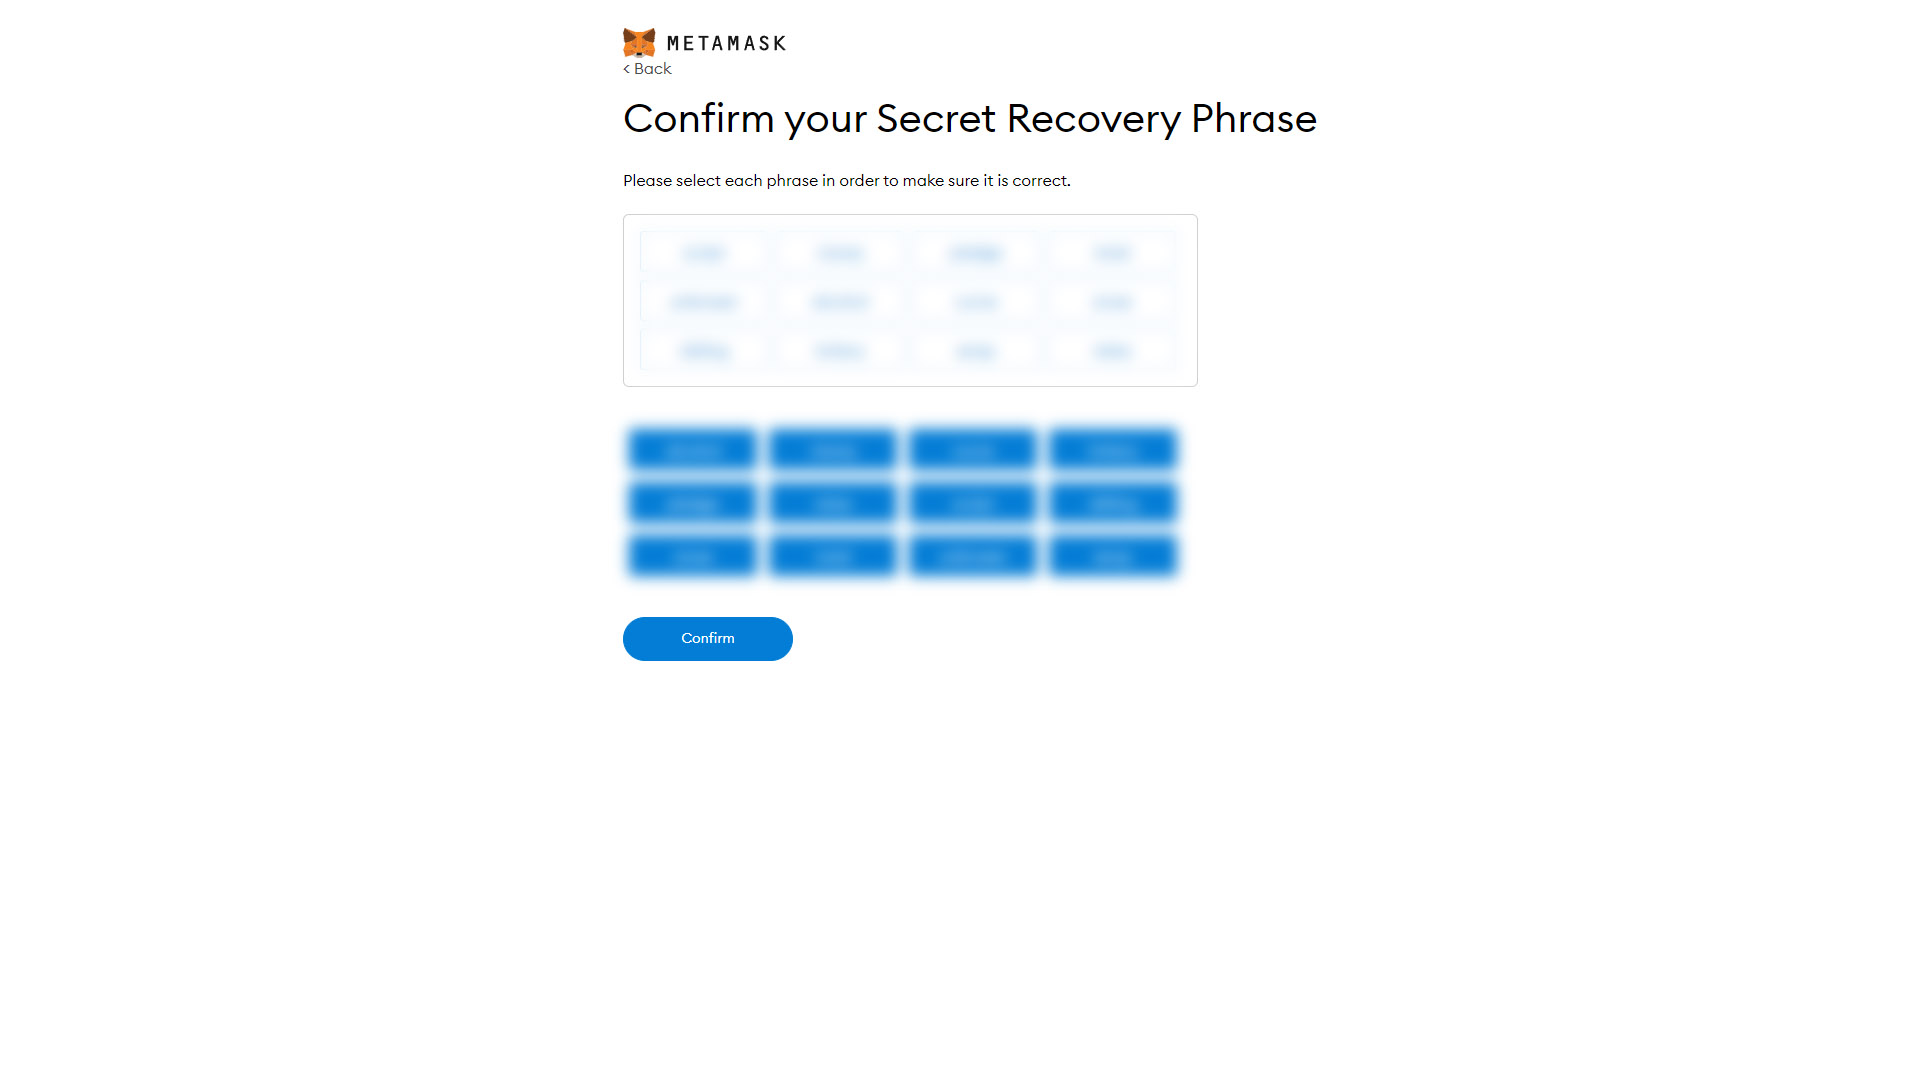
Step 26
After copying your phrase to a safe location, you will be prompted to confirm it by selecting each word to ensure it is correct, as depicted below. After doing so, click on “Confirm” and move on to the next step.
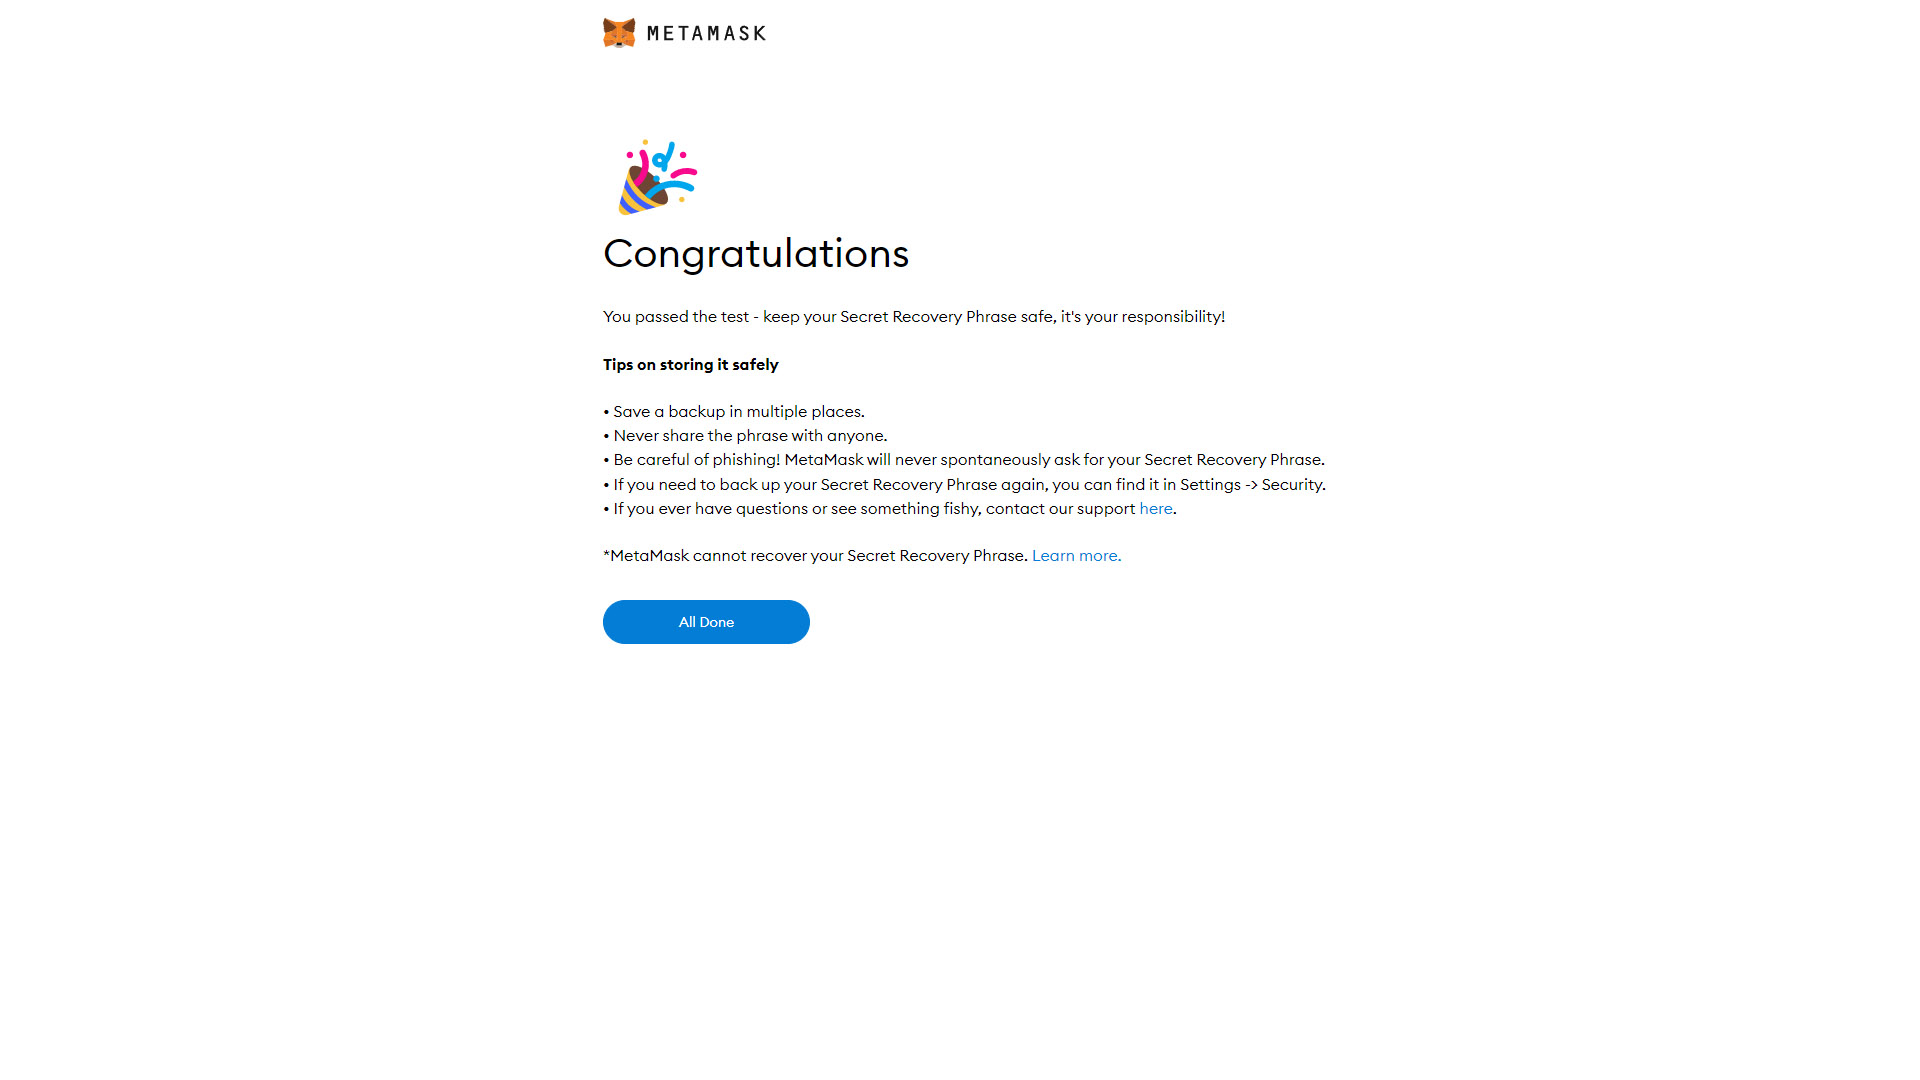
Step 27
As soon as you click on “Confirm” you will be taken to the screen shown below, where you can complete your account creation and connect your MetaMask account and wallet to your VTBDex account. Click on “All Done” and reload your VTBDex tab to have all changes detected.
Step 28
After reloading your VTBDex tab, you will be able to connect your MetaMask account and extension to the VTBDex. You should click on the MetaMask icon once again, and a popup will appear with your account already detected. Be sure that your account is selected by ticking the box next and clicking “Next” to move forward.

Step 29
After clicking on the “Next” button, you will be prompted to confirm your connection of MetaMask to the VTBDex. You can go ahead and click on “Connect” to do so and move on to the next step, as depicted below.
Step 30
After successfully connecting your MetaMask account, your VTBDex account will almost be ready for the next step. Click on “Continue” to move forward with the process, as depicted below.

Step 31
You should be now fully connected with Polkadot and MetaMask. You should be able to see both of your accounts connected to the VTBDex with a checkmark right next to each software instance, as shown below.
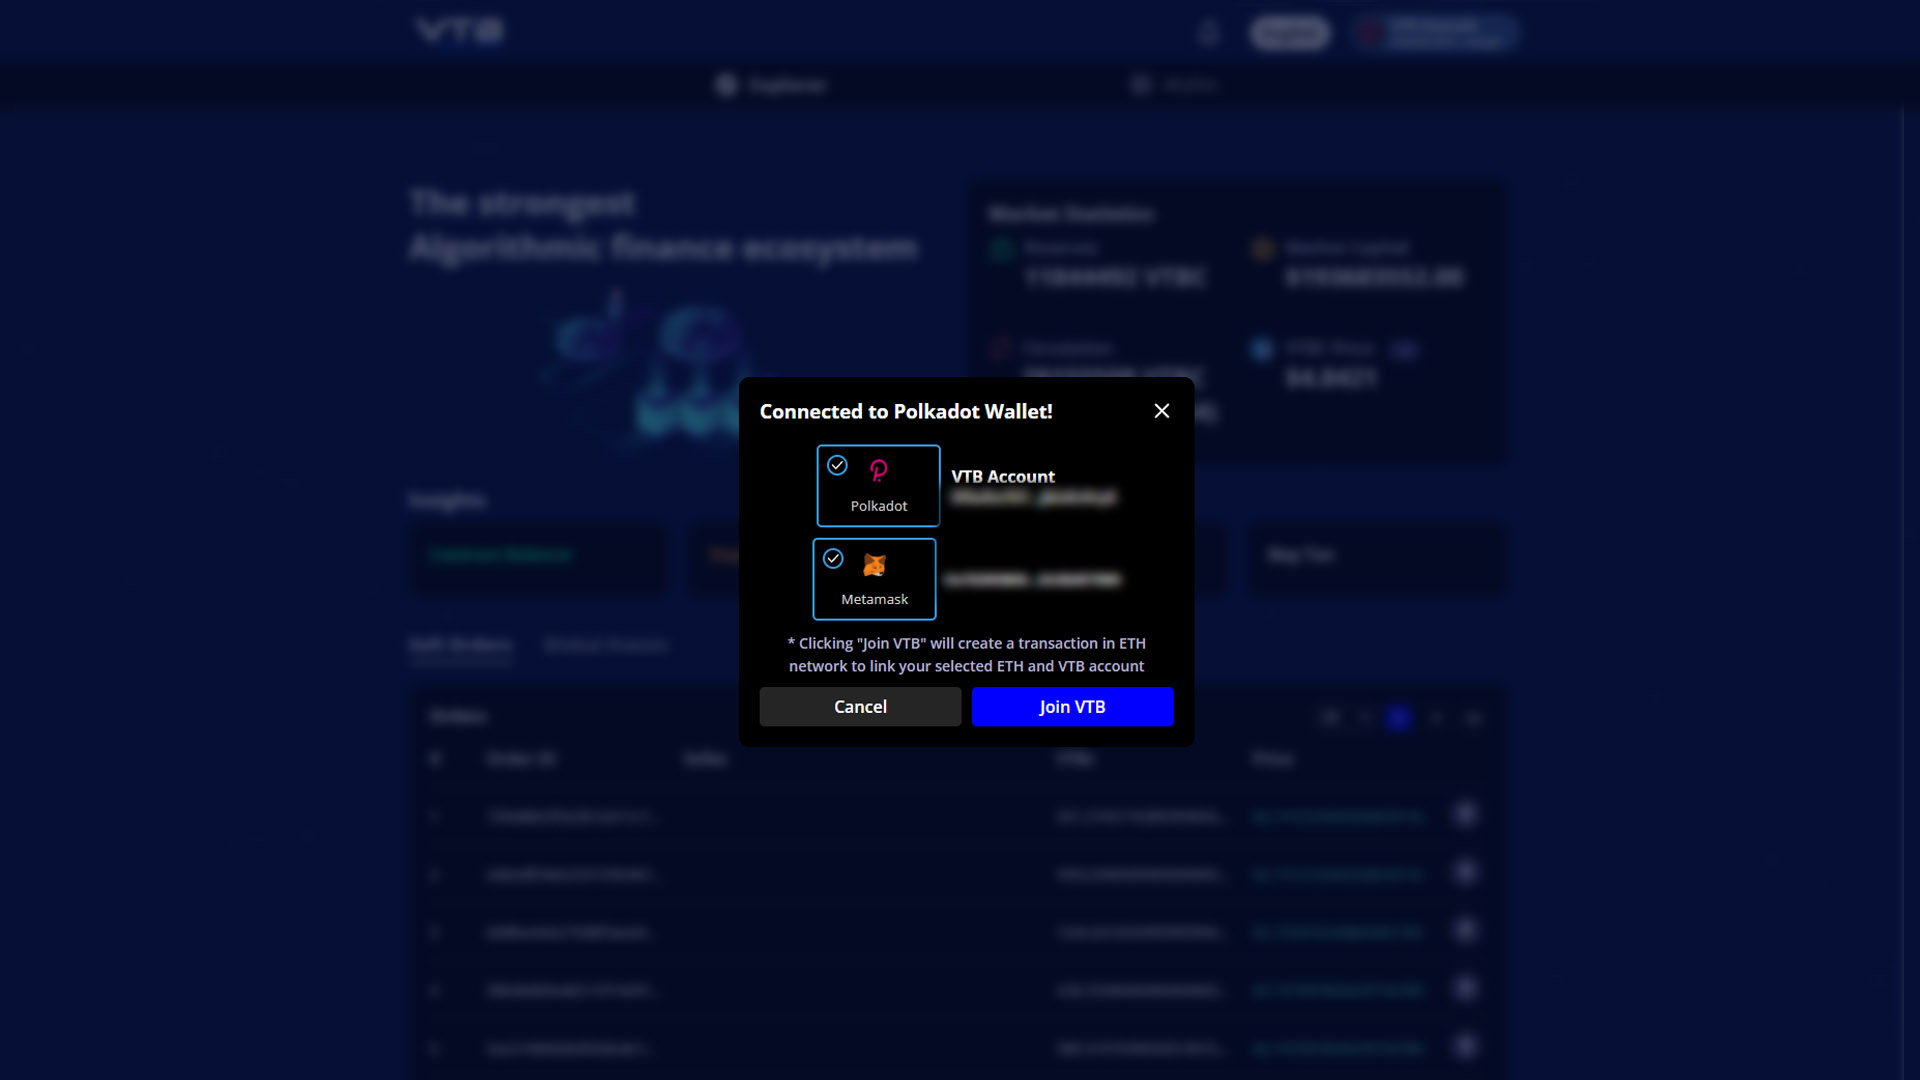
Step 32
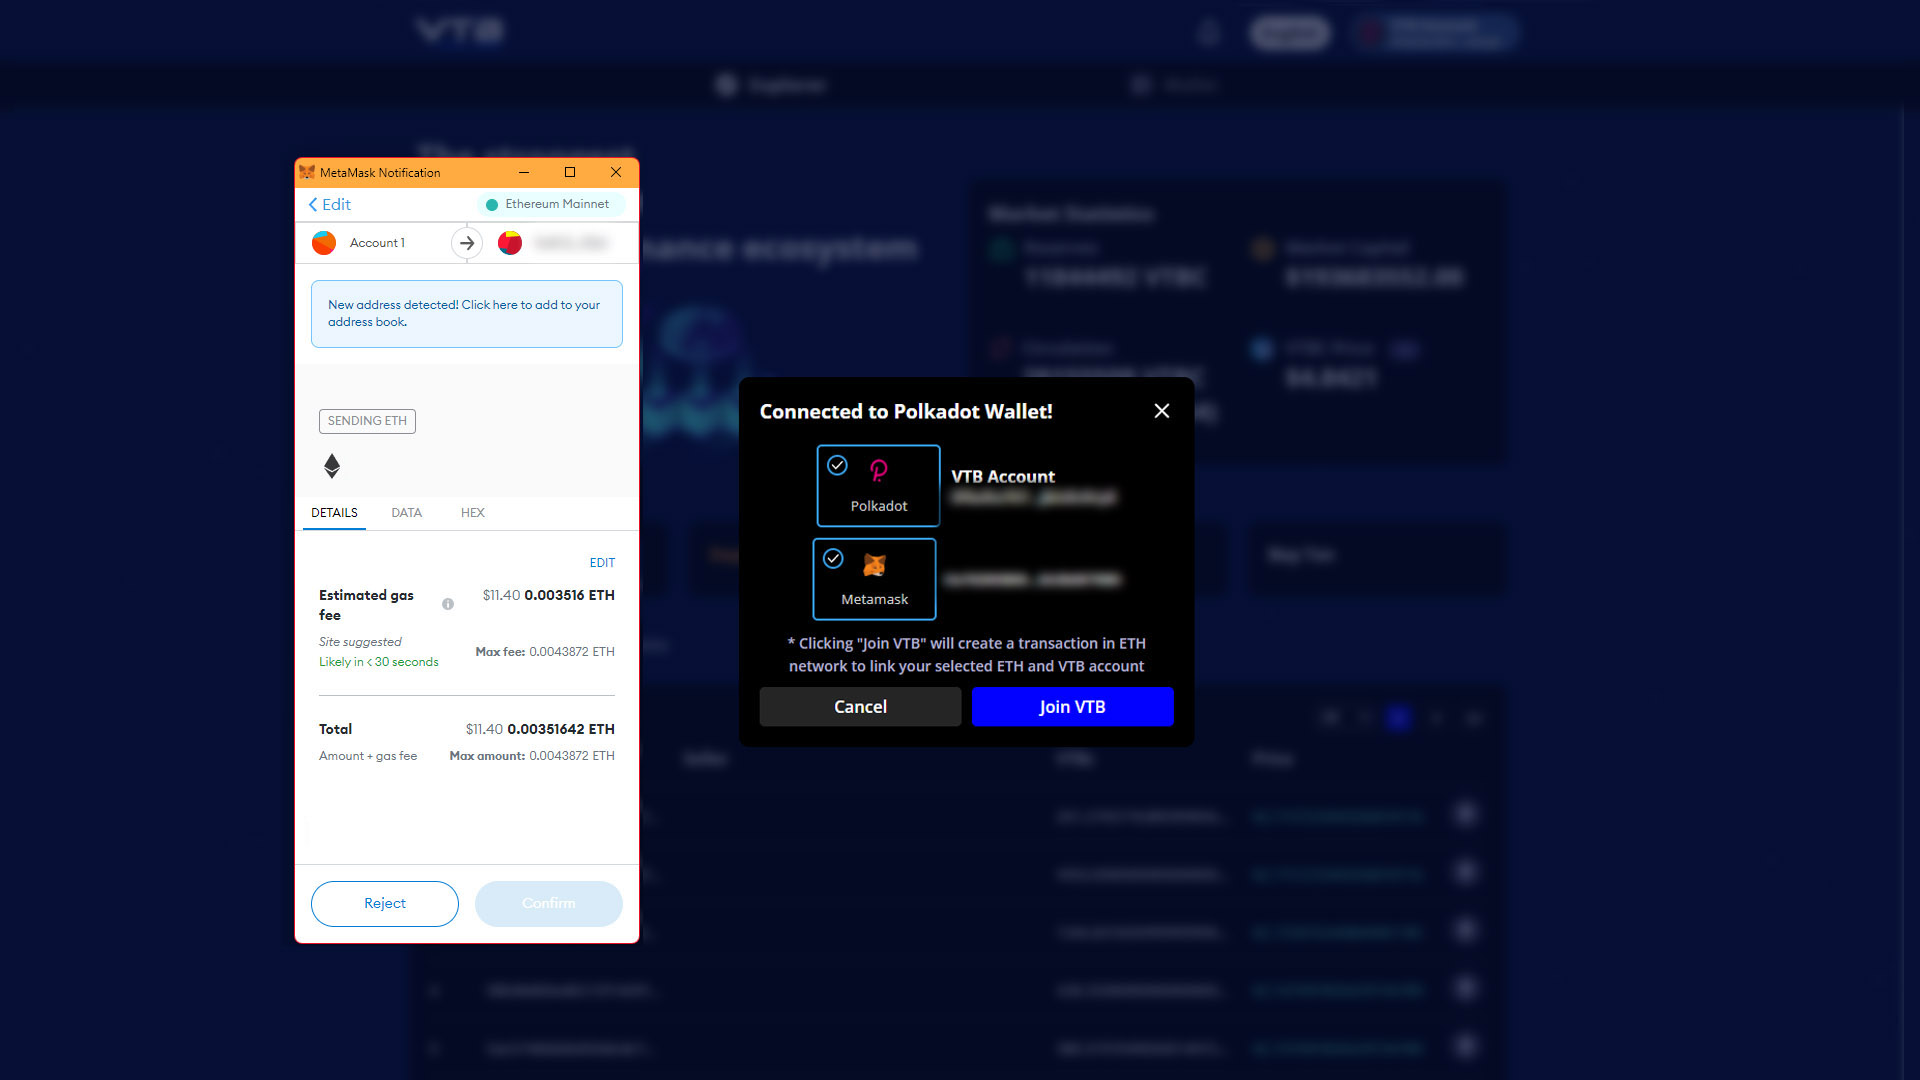
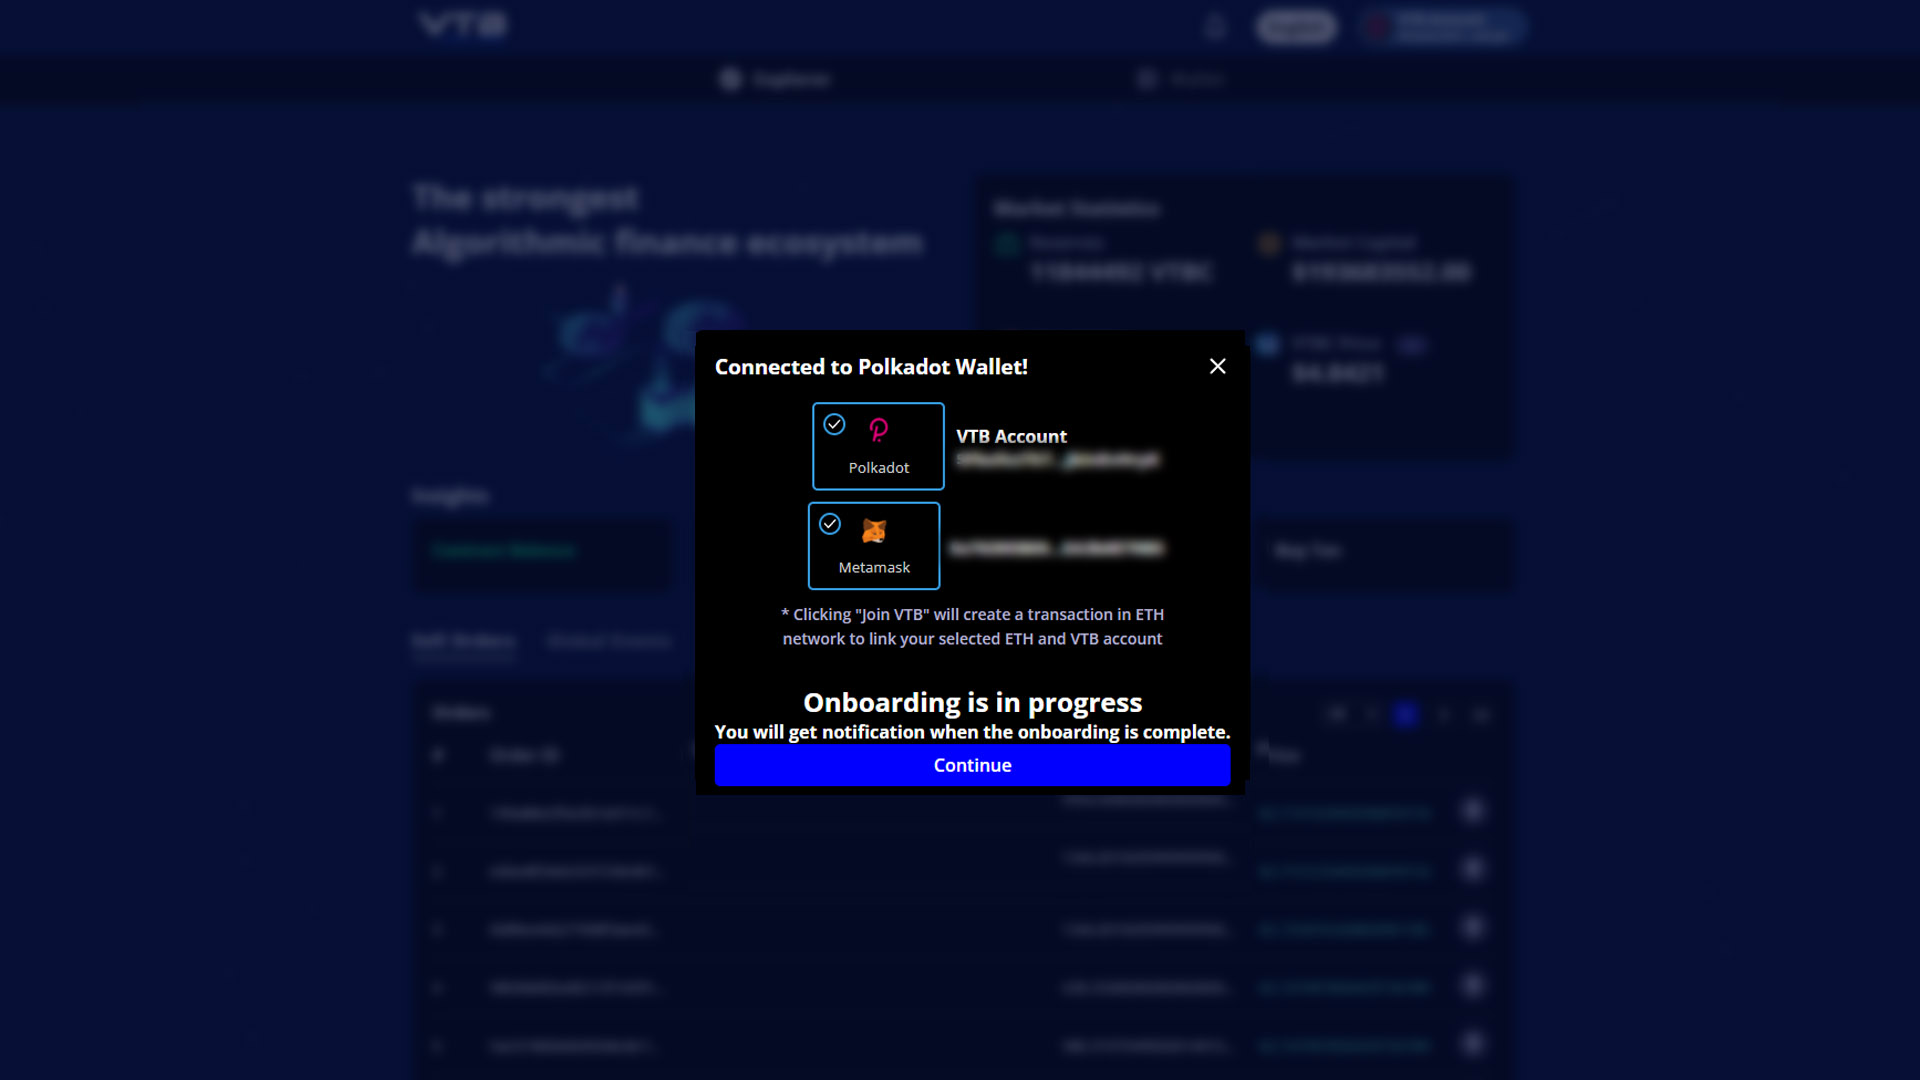
Following your successful connection of Polkadot and MetaMask, you should click on “Join VTB” to open a dialogue screen where you will be prompted to transfer funds from your MetaMask Ethereum account to the VTBDex to consolidate your wallet addition process. There will be a minimal fee to cover, as is always the case with the Ethereum network and its gas fees. Finally, you should click on “Confirm” and move on to the next step, as depicted below.
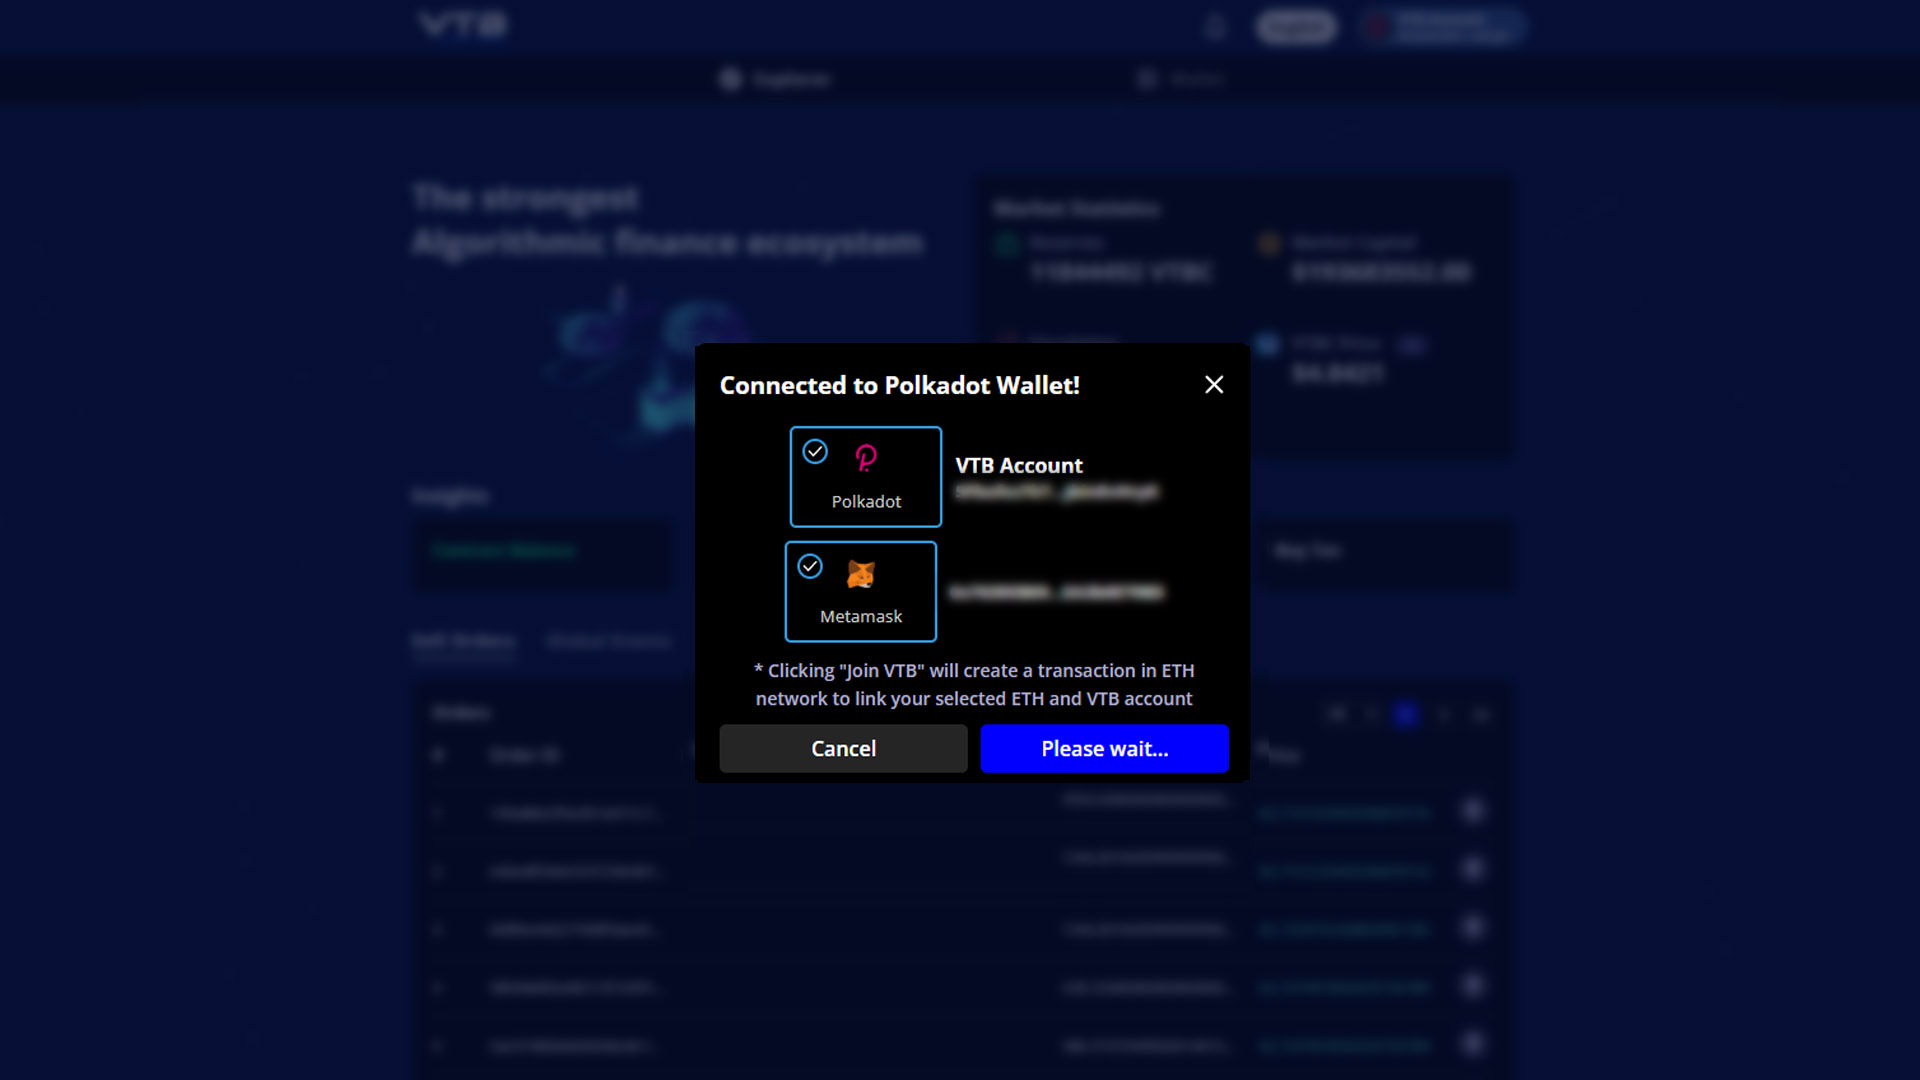
Step 33
Right after confirming your transfer, you will see the popup close by itself, and the VTBDex legend will change to “Please wait…”. It should take a few seconds to complete the process, as shown below.
Step 34
After a few seconds, you will see that the Onboarding process is in progress, and you will receive a notification of the status as it is complete. Be sure to click on the “Continue” button as illustrated below and move on to the next step.
Step 35
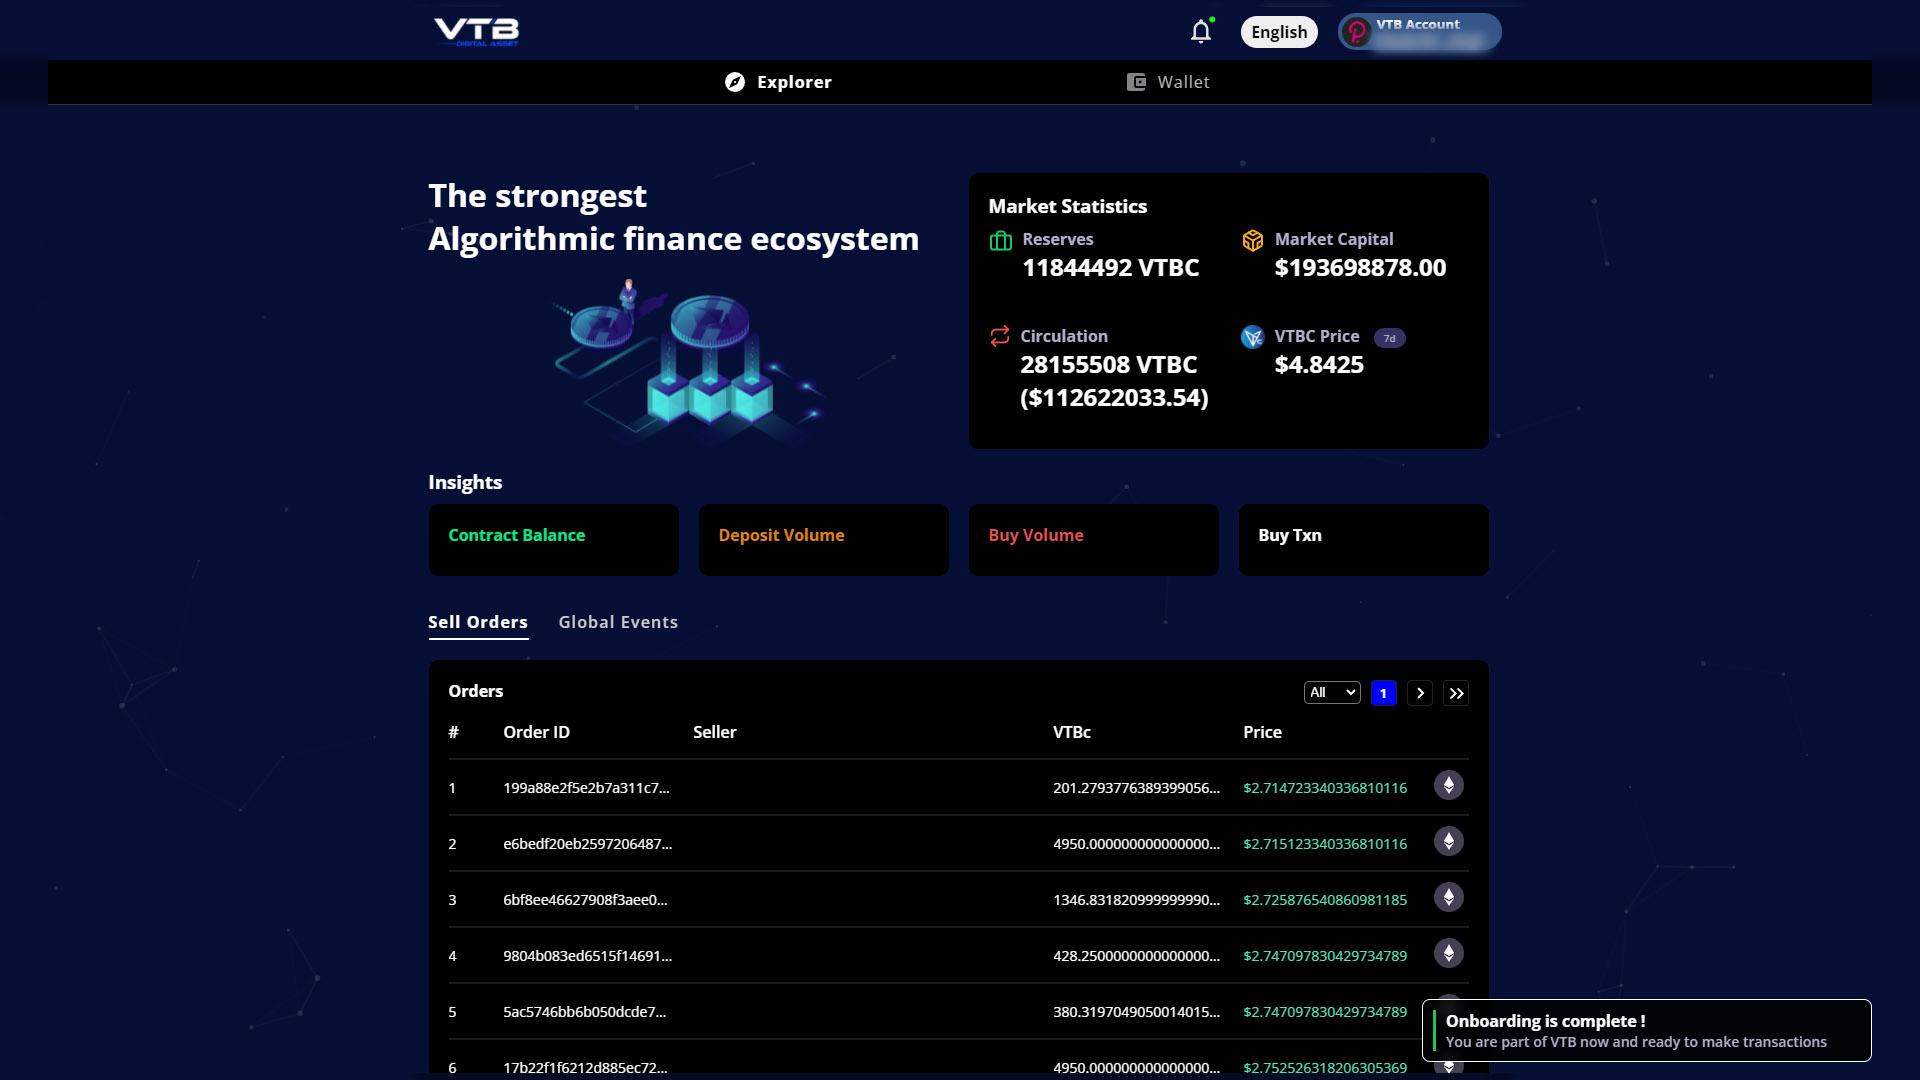
After the process is complete, you will see a prompt shown at the bottom of the screen stating that your onboarding process is completed. You will now be able to confirm that you are a part of the VTBDex and become ready to make transactions in it, as described in the image below. Finally, you may move on to the next step to learn about the notifications area of the VTBDex.
Step 36
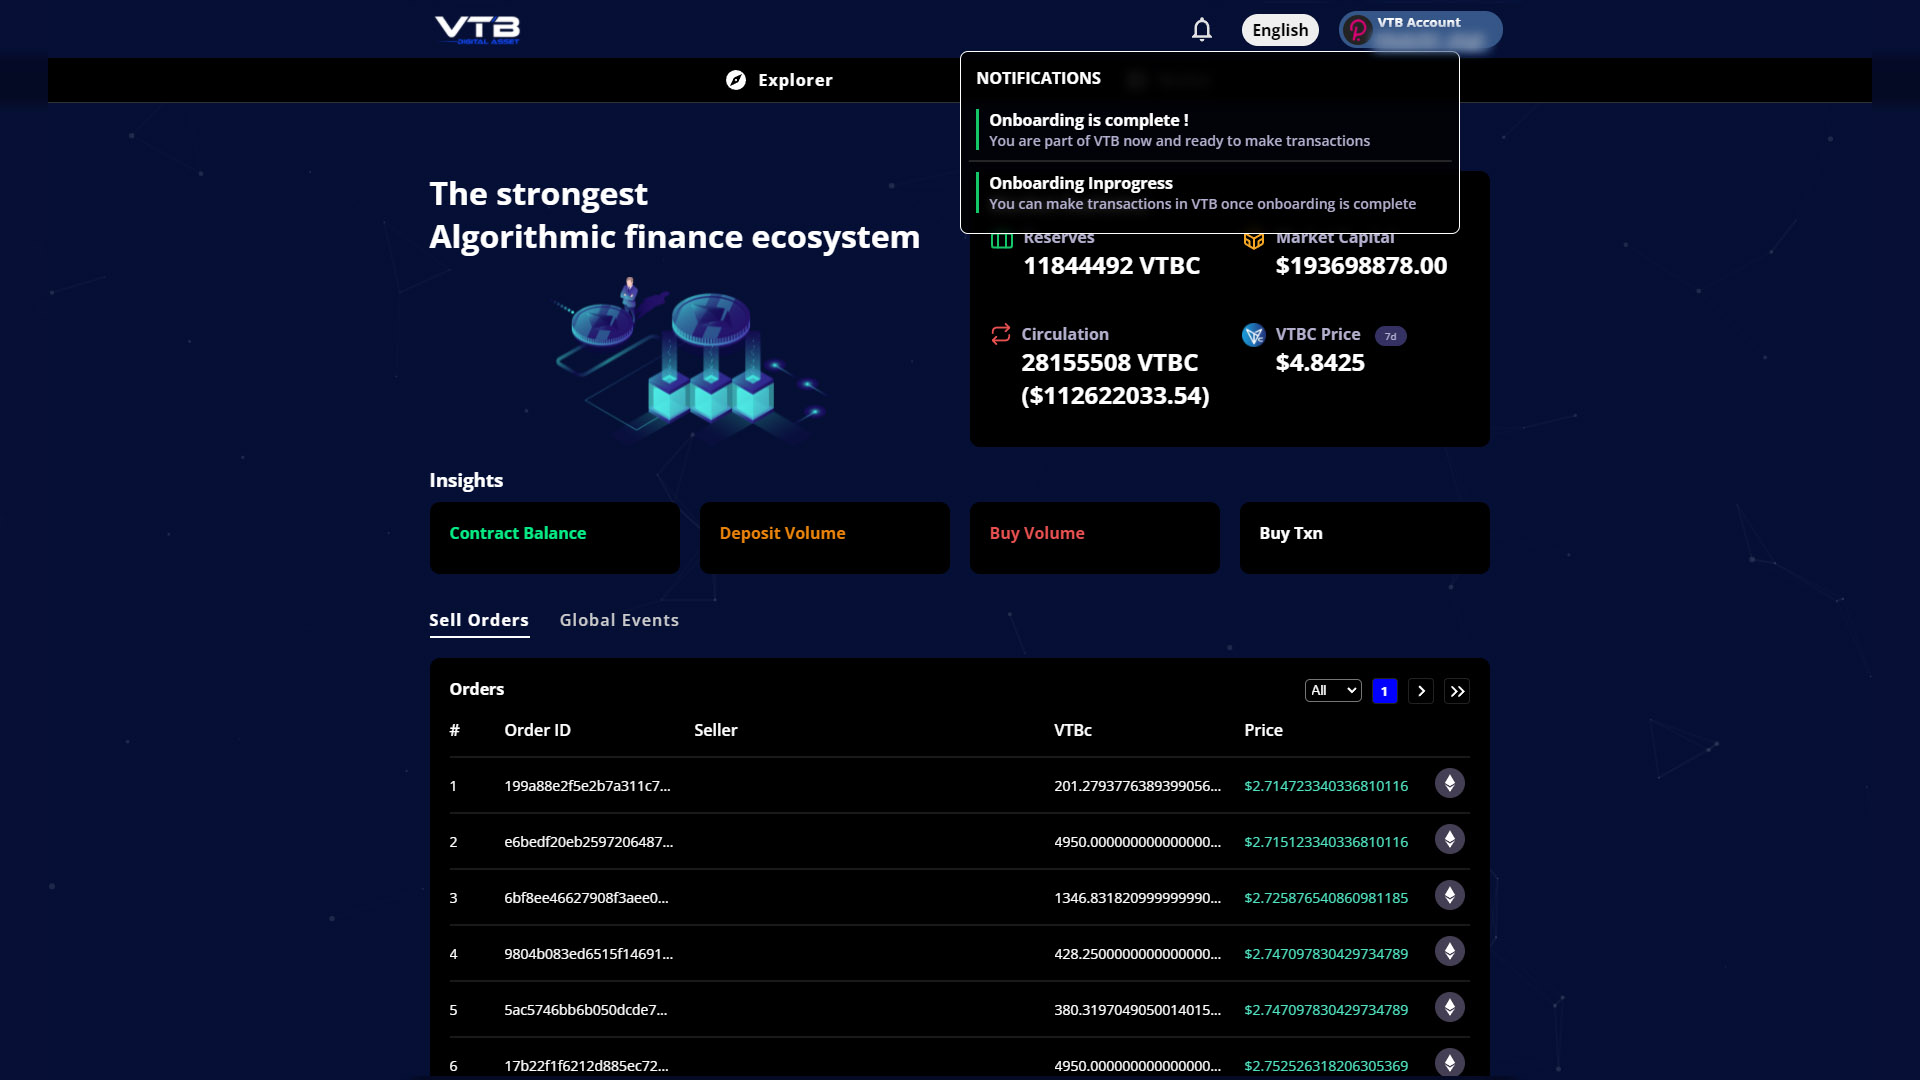
You may check your VTBDex notifications by going to the small “bell icon” at the top of the website, right next to your account section, and, by clicking on it, you will be able to see the latest notifications related to your account, as depicted below.
Congratulations on completing your onboarding process!
We are delighted to have you on board!
Download the PDF version of this guide in English or in French.
-
AuthorPosts
- You must be logged in to reply to this topic.